GANMOR GARDENS
propagation talk
GRAFTING TECHNIQUES
Step by step in Pictures! Home Page
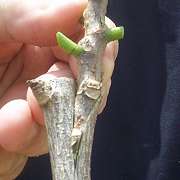
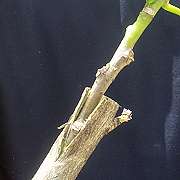
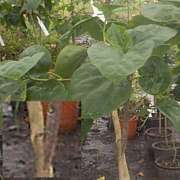
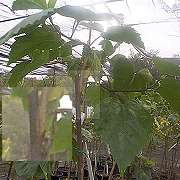
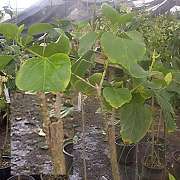
GRAFTING is just a method to connect the sap-flow of the rootstock to that of the scion and it doesn't need much. I've seen all sorts of funny results with only a fraction of the cambium sap layers making connection but the plant still thrives. Of course, the "expert" will boast about getting the rootstock and the scion to line up just about everywhere. I remember my early grafts when I labelled some as "unlikely", others as "certain" and I can assure you the results were often the other way round.
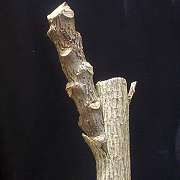
There are many other grafting methods even as simple as just clefting the top. The cambium connection is all that matters. Some are more aesthetic in appearance than others, but if it's just for yourself, it doesn't matter what type you use.
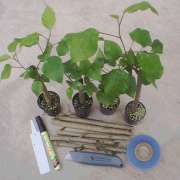
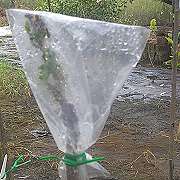
A humidity hat is important if you don't have a humid igloo-type room. Two weeks is about all the hat needs to be on and the tape can be removed from 4 to 6 weeks according to whether it's warmed up or not. Any remaining eyes on the rootstock are then removed as well.