Yes, lucky people, GI!!
In
our attempt to fake GI, Francois Zarroca wrote the skyLightControl mel
script.
This script (for those who don't know about it) creates an hemisphere
of ambientLights to illuminate a scene and points or directional lights
to cast the shadows.
The
major problem with ambient lights used for direct illumination (with the
ambientShade attr. set to 1) is that any bump assigned to a shader lit
by ambient lights is almost invisible (or you have to set very high values
to see it, and it's most of the time a pain to set)
Besides, as we use 2 types of light, any image is consequently twice longer
to render.
This was for the skyLight mel script (kinda pros and cons).
I'm about to show you a very simple shading network which makes maya enter in the medium of GI renderers. (bah, I'm kidding..!! ;-))
This
method has a major limitation in the fact that the point or dir light's
speculars highlights are still visible if you have a very glossy material
(spec very sharp and bright).
But it works 'fine' on softer specular materials.
Well,
it's pretty simple.
You can follow step by step what is written below to see by yourself what
you need to do for your work.
- Create a simple
skyLight with the skyLightControl (64 lights, whatever dir or points for
the shadows). Don't forget to uncheck the re-use shadows attr.
Once it's done, you can close the skyLight UI, we don't use it anymore
from here.
- Select the ambientLight group and delete it.
- Select the point or dir lights group, open the spreadSheet window, and go to the keyable tab. Select the color attr. (RGB) and set 1 1 1 (it's an example, but you're free to enter other values!!)
- Set the shadowColor to 0 0 0.
- Render an ipr session.
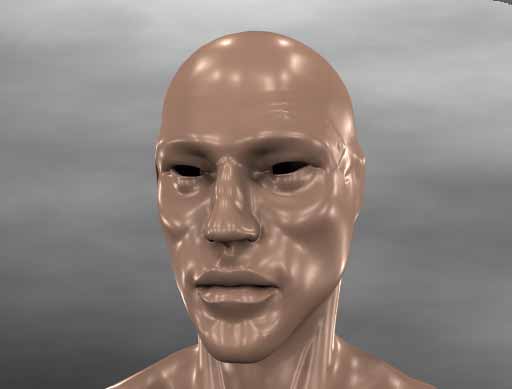
This time, you should get something like this:
At
that particular moment, once again you're thinking :"What the hell
this bloody french frog is doing!!??"
One advantage here is that we really got a diffuse
illumination (and specular of course), so no prbs with the bump.
Another cool thing is that we have now 'positive' shadows, so it's gonna
be harder to burn in a model because the shadowColor is too low. ;-)
- Create a directional light, and orient it like below:
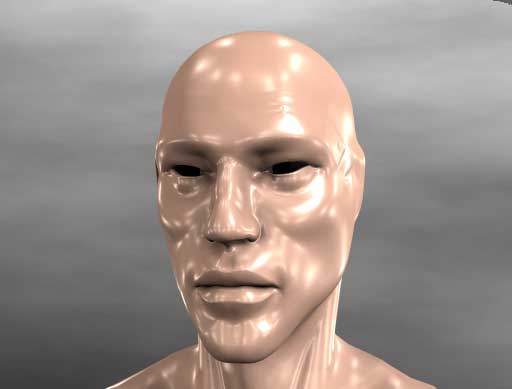
Wow, this is so... wet!!. Intense!! ;-)
This is exactly the kind of problem we've had to deal with during the writing of the skyLight and why we've chosen ambientLights to illuminate an object.
Now, in order to 'remove' all these little specs we don't want (updated from here)
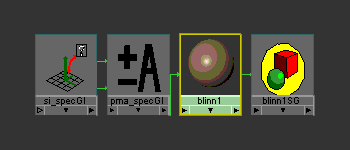
- Create a samplerInfo
and a plusMinusAverage node. Drag the samplerInfo to the plusMinusAv.
node, and connect the rayDirection to the input3D.
- Then connect the normalCamera to the (nextAvailable) input3D.
- Turn the operator of the PMA node to 'substract', then drag it to your shader and connect the output3d to the rayDirection.
Your shading network should look like this:
And here is what you get with that shading network:
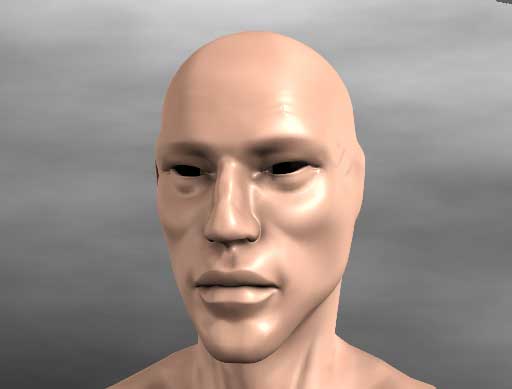
As you can see, the specular highlights are exactly the
same (thanks to the normalCamera).
Compare the image above and the one before, the difference is really noticable.
After few adjustements of the specular attribute of my blinn, here's is the 'final image':
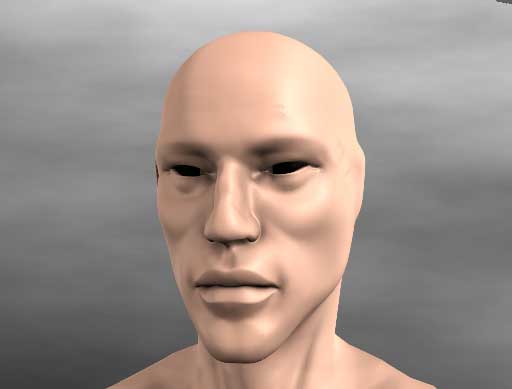
This tutorial is now almost finished and I hope this will help you soon.
Anyway,
a last word about the connections, I wrote a little mel script that creates
and connects automatically the nodes to your shader. You can download
the updated version of spec_GI.mel here. To
use it, source it first, then select your light FIRST, then your shader
and execute the script. If you need to add the connection to another shader,
just select it and execute it again.
You can change the type of the light (spot, area, point),
this won't affect the specular's behavior.
Here is a very basic sample scene you can download to see the connections
Limitations:
The connection shown above doesn't work at all with the AM_glossy, AM_velvet, and works 'correctly' with the anisotropic when the x and y angle are almost of the same value. The lower the rougness is, the most you'll see the specular highlights.
You
got to understand that the specular highlights actually are dimmed by
the samplerInfo, not really 'removed' like I said.
So you'll have to find the right setting to get the look you want and
to avoid the 'GI' lights's highlights.
My last sentence will be for Maya 4 which I can't wait to get my hands on.
Francois
and I have planned to re-write completely the script, to use the new light's
features of this new version.
I can say that it'll be twice faster for editing and rendering, and way
more accurate.
But this is another story I'll talk to you later...