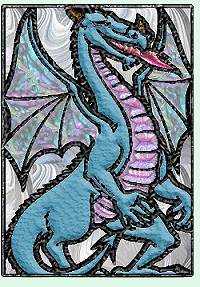
using PSP5 or 6 and Blade Pro presets
 |
Stained Glass using PSP5 or 6 and Blade Pro presets |
First, select an image to work with
Then working with only one outlined section (where one piece of glass would be if this was real) at a time, use the magic wand to select the white. Go to selections/promote to layer. This gives you more control, as each section will be on its own layer. I find that this also helps with the translucent effect. Because I leave the black and white background underneath, I can play with the blend modes on each layer until each piece of "glass" looks the way I want.
After you have promoted the white, use a Blade Pro preset on it OR select it with the magic wand and flood fill with a sample of real glass (available online), or a seamless texture that you have made or downloaded.
Another trick is to use the rectangular selection tool to get only a part of your glass sample to use as the flood fill. Move this selection for each piece that you flood fill and you will get more variety and it will look more like real stained glass.
There are times when you might want to select and promote several sections at a time. If you have several small sections that you want filled with the same "glass" and you are using Blade Pro or your glass sample is large. But for the most part you need to work with only one section at a time. This is because if you promoted all sections of a item and flood filled them, it would look like one LARGE piece of glass instead of having the pattern of the glass showing in each area. You may also end up with seams if your sample was not large enough.
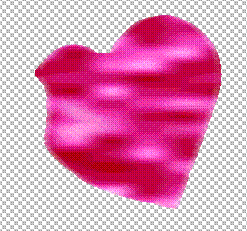
promoting several small sections at a time
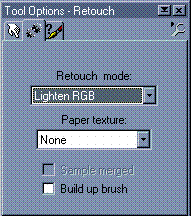
After flood filling, go to the colors menu and adjust the brightness and contrast. You want some white areas when you are done. It is these small white areas that will help to give it that glassy look when we are done. You might even use the retouch tool to "lightness up" or "lighten rgb" in spots. Use the "smudge" and "soften" to blend if needed.
 |  |
Use the clone tool and "push" brush to fill out any little areas you miss. Don't worry about going over the lines.
When you are done with all sections, go to the background layer and select all the black by going to selections/select all then selections/modify/transparent color - white and then promoting that to a new layer. This is our leading and should be the top most layer. You can move it by just clicking it in the layer palette and dragging it to the top.
Apply a Blade Pro preset to it to turn it into lead. I use one I made called "pewter". It started out as an orange preset, but I kept playing with the sliders trying to get what I wanted one day, and suddenly I came up with something that reminded me of pewter, so I saved it as a new preset. It just happens to work well for stained glass lead. Click Here to download.
After all sections are done, and the preset applied to the lead, play with the layers palette's blend modes on each layer. If it still isn't translucent enough, try colors/adjust/gamma correction. You may even decide you need to add more brightness.
When satisfied, merge the layers. Select the white and invert selection. Now use the Filter Factory plugin "spotlight" to add a bit of a glow. Real stained glass would have this lighter area where the sun was shining through or from the flash attachment of a camera. This can be offset from center, or centered. Use your artistic sense and if you aren't happy - undo it and try again. (I usually have to undo the spotlight a few times before I am happy with it)