HTML Graphics
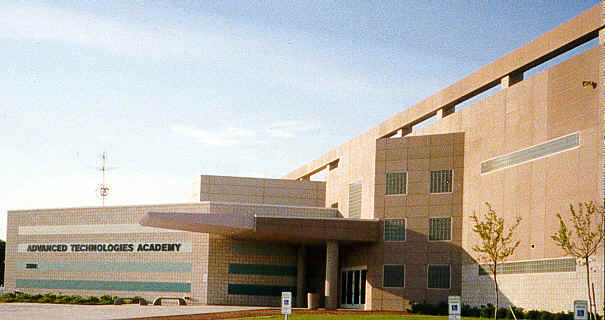
| <HTML> <HEAD> <TITLE>your page title goes here</TITLE> </HEAD> <BODY> <P ALIGN="center"><IMG
SRC="atapic.jpg" ALT="Advanced Technologies Academy"
WIDTH="291" HEIGHT="154"></ALIGN></P> |
Produces the following:
IMG SRC="filenameofyourimage.ext" where ext is jpg, gif, bmp, etc.
WIDTH and HEIGHT specify how big your image will be. It is good to specify how big the image will be to control how and where on the page it appears. How do you know which numbers to use? Experience and experimentation. Try and preview until you find the size and style right for your page.
Try aligning your image to the left and right as well as in the center.
You can also specify vertical alignment by using <IMG ALIGN="top"> (or middle, bottom, absbottom, absmiddle) which will align images and text in the manner specified by this tag.
Of course, this is only the tip of the iceburg where graphics are concerned. You can also create your own graphics, use them for backgrounds, combine graphics to form a complex picture, use graphics as links, and use graphics as image maps which allow you to point to an area of the graphic and link to something related to that area.
Visit http://www.mcp.com/sams/books/235-8/cafe9.htm then click the "9" on the clock for more graphic ideas.
COMMENTS (in other words, documentation) for your HTML. Use:
<COMMENT><!-- put your remarks here --></COMMENT>
Start NOW to document your pages so that when you go back to them, those tricky items like tables within tables within tables won't come back to haunt you! Anything between <COMMENT> AND </COMMENT> will not show up on your page. You will only see it if you view the source for the page.
[CF] [CBA2] [PBA] [CPB] [Return to HTML Index] [SEND E-MAIL] [RETURN TO MS GUNN'S SCHOOL PAGE]
Designed, programmed, edited and copyrighted by Ms Gunn � 1998