261st TopDogs | home
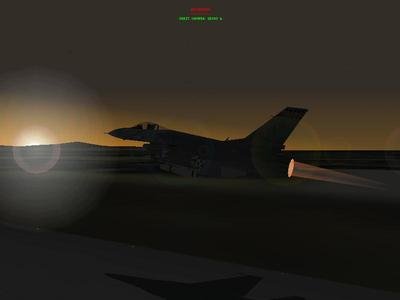
Take off
Take off
Every mission starts long before you climb into the cockpit. There is several hours of preparation, planning, coordination, and a high pucker factor! I will start off inside your AC. Before requesting to taxi, you had better run a series of checks. I have a standardized preflight checklist that every pilot is
responsible for.
This may seem like a real pain, but believe me it has saved my butt many times over. I will break out the systems that I go through. It is up to the VFS commanders to create their specific checklist.
ICP Integrated Control Panel
DED Data Entry Display
RWR Radar Warning Receiver
STPs Steerpoints
HUD Heads Up Display
Delivery profile Ripple, Ripple distance, etc
.
Once I have confirmed all points on my list. I break radio silence with an acknowledgement.
Before starting to taxi I request clearance from the ATC. Once cleared to taxi, engage full wheel brakes and throttle up to 90% and back down. This lets you know if there will be control over your power.
The flight lead is always the first to taxi, followed by the 2 ship, 3 ship, and so on. Spacing is very important in Falcon 4 due to lag and collision distances. You do not need to touch the AC in front of you to collide with it. Just one of those little things we have to deal with in the virtual world. Keep at least 2 AC lengths apart, and when you stop behind the AC in front of you go into a herring bone formation. This will allow you to shoot past the AC in front of you and out into the grass. Works but not very realistic.
You can do a formation take-off but it is very difficult. There is the chance of warping that plagues us for now. The flight lead should fly on the runway heading until about 4 miles out. The Following AC should break and head to the assembly point one mile less. Thus leaving the 4th ship breaking at around 1 mile out. This will aid in the flight regrouping up and falling into formation.
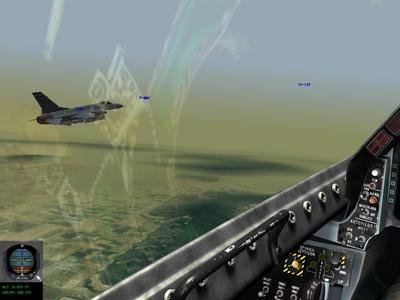
Assembly
This is the real test of a Squadrons metal. Formation flying is essential in the real and virtual world. This allows coverage to both the flight and scanning for targets. Again I advise that any type of demonstration flying is very difficult, due to collision monitoring within F4.
It is not a race to see who can get to the assembly area first but there is no sin in arriving early. Radar should be off until you turn to the push point. That is what the ADA pukes are supposed to be covering you for. : )
Push Point
This is where you earn your money! Lock and load! Flight commander will issue the order to proceed to the target. His decision will be based on the following criteria.
TOS Time Over Steerpoint
Accountability of AC
Flight Status
Threat Status
Radio silence will be maintained from now on. Calling out threats, and contacts are the exception. Each pilot is expected to maintain terrain masking and radar avoidance at all times. I will spend some time on this because I feel very strongly in this part of the mission.
As pilots you have to not only maintain SA (Situational Awareness) you need to drive the falcon. This seems like the easy part in an ATG role right? Wrong! There should never be a straight and level flight plan in combat. If that is what you are interested in there is a huge pool of Commercial Aircraft simulations out there to choose from.
My SOP for my flight is < 1000 AGL. What does this mean? This means that I had better not see you over 1000 ft above ground level or you are not ready to fly in competition under the Grave Dancer flag.
The no fly zones in combat are as follows.
Low Altitude < 1000 ft
Medium Altitude >10,000 ft
High Altitude > 20,000 ft
No Fly Zone = 1000 - 10,000 ft
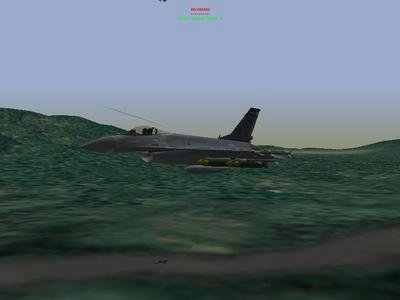
Terrain features
Hills and valleys are not just pretty scenery, they offer you vital protection vs SAM radar, and detection from other AC. Terrain Masking still needs work in 1.07 but that is a small price to pay for what was fixed.
Follow these simple rules:
q Fly around hills
q Fly along the edge and low in the valleys
q Fly around populated areas and structures.
q Stay below the hill tops if feasible
q Keep from following rivers, roads, and beaches.
1. Yes they're easy to navigate by but remember it is easy for the enemy to navigate by also.
Engaging Target
There are 3 basic sequences that encompass the attack.
q Identification
q Acquisition
q Execution
I will cover all three for your benefit.
Identification
If you have studied the reconnaissance photos you should be very familiar with your assigned target. During the reconnaissance phase you should have picked out reference points to give you visual clues to help you quickly identify your target. Examples are as follows:
q Lighted smoke stack from the target or a near by factory. Night missions are good for this.
q Terrain features
q Stadiums, airfields, bridges, etc
.
q Major road junctions
q Lakes and streams
Acquisition
After those precious seconds taken to identify your target, comes the task of pointing your weapons on it. I am only going to scratch the surface on load-outs versus target types. Threat level really determines which delivery mode to choose. The three that we are all familiar with are CCRP, CCIP, and DTOS. Each offer the pilot certain benefits and hindrances.
CCRP Continuous Calculated Release Point
Good for precision
Good for location of a target illuminated by your radar
Bad because you have to over fly the target in most cases
CCIP Continuous Calculated Impact Point
Good for precision using visual targeting
Good for minimal stand off
Good for quick in and out attacks
Bad due to bringing you in close of the target defenses
DTOS Dive Toss
Great for long stand off deliveries
Good for precision of an area target, area effect weapons
Bad due to decreased accuracy, high learning curve to employ
Every pilot out there has a certain way to employ each of the discussed delivery modes. I am not going to argue that my way is the right way. This is just how I have been employing each of the methods.
I use CCRP to find obvious targets on my radar and use the steering cues to locate the target faster. I already have it acquired so I slave my LGBs and wait for the image to appear in my MFD. I obtain the lock and do my pop-up and hopefully the ordnance releases giving my time to get back down. If you time it right the weapon will hit just as you get behind the nearest terrain feature. Takes quit some practice.
CCIP is my work horse mode. I use it for most of my point targets such as bridges, troops, airfields, or targets that require me to put all my bombs in the same area. I do take a lot of ground fire and SA-7 hits but I can bet my dog that I will hit the target.
DTOS? I love this mode! I can loft 4 MK-84s from 6 miles out and turn 180 degrees and be down behind cover before those bad boys hit! Even the best lofters out there have to admit, DTOS is best-used for down and dirty work. Best to play with the ripple and release, to maximize the effect. No hitting a air-conditioning vent with this mode. You are hitting the entire city block!
I would love to go into more on deliveries and loadouts but I am not a writer. I will probably follow this one up with a series on planning, delivery, and ordnance.
5 Golden Rules!
q Thou shalt not engage a single fixed target more than once!
q Do the job on the first pass! Expend all ordnance!
q Don't ever look to see if you hit or not. That is what the ACMI is for!
q Be aware of your Altitude!
q Know when to break off!
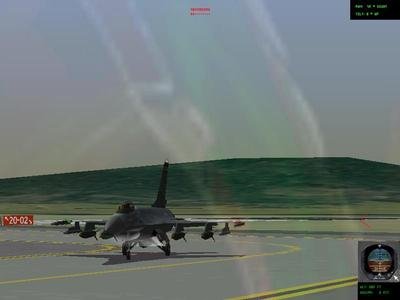
Exiting Target Area
I have stressed over and over again. Get down behind the nearest terrain feature, put a big chunk of real estate between you and the target. If you were inbound at an altitude of 200 ft you had better be exiting at 100 ft or less. You have just kicked the hornet's nest and they are pissed!
Continue to follow the simple rules of low-level flight discussed earlier. If you are in a 4-ship flight break off into your elements, the old rule of thumb. Everyone knows that 4 targets are harder to hit than a group of 4. Make the enemy work for there meals! Flight leads need to get a sitrep from all pilots in his or her flight. Categorize the damage birds from most severe to least. It is the lead ships responsibility to decide to land at the alternate, or try for home plate.
Real quick, if you burn in on the runway be considerate to your fellow pilots and only take out one lane of the runway, and announce which side you intend on landing on. Finally get off into the grass ASAP!
Well I hope this helps you better appreciate the level that Falcon 4 offers to us. Again I am not a writer and I am not a Falcon driver. I just have the love of flying combat sims, and F4 is my dream come true.
Thank you for reading, and I wish you Gods speed in all of you virtual missions.
![]()
![]()