Tricks of the Trade
Speed 400 Motor Break-in - (Creates a long lasting, Great running Motor)
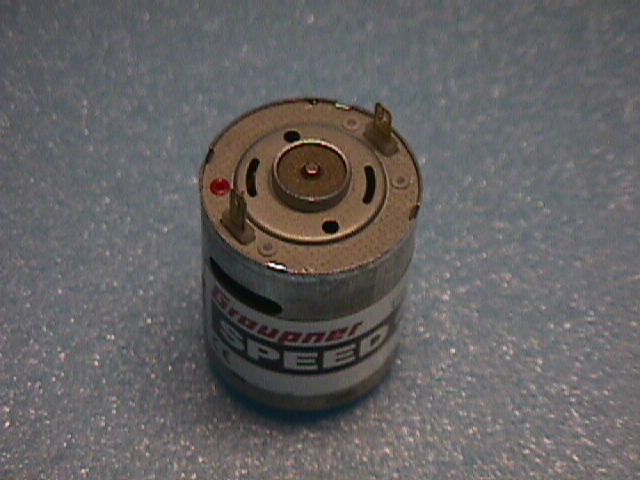
The single biggest improvement you can make to your speed 400 motor is to have it proporly broke in. There are many different ways to do this, and I'm going to discribe the one which works the best for me.
Items you'll need:
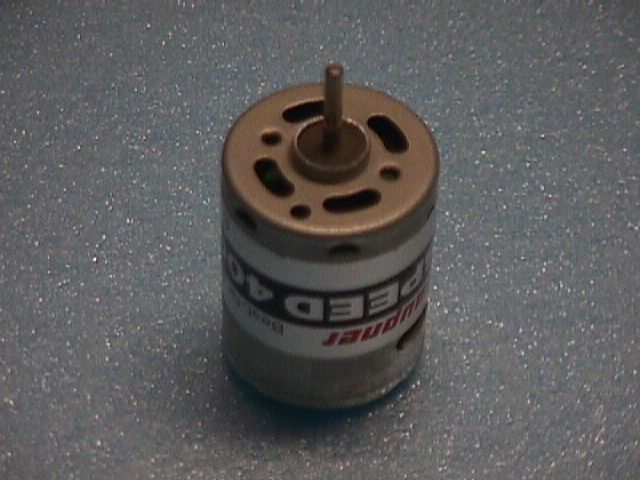
Motor
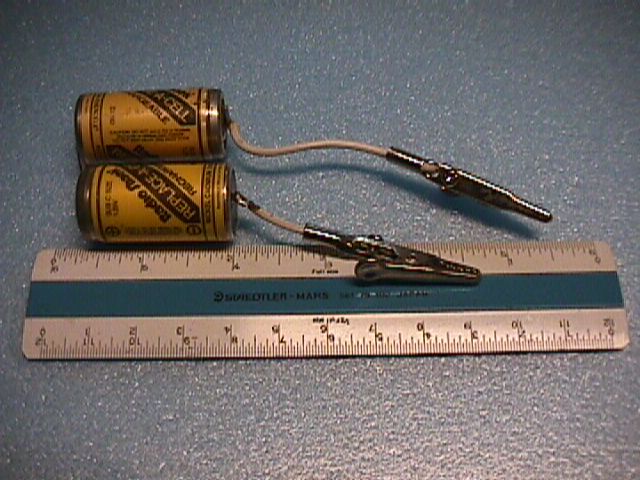
2 C batteries
2 small clips
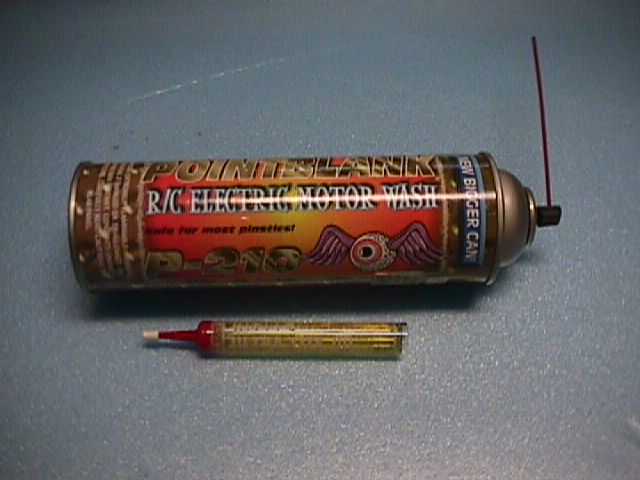
Motor Cleaner (check a hobby shop that sells r/c car stuff. They'll know what you need)
Light Machine Oil
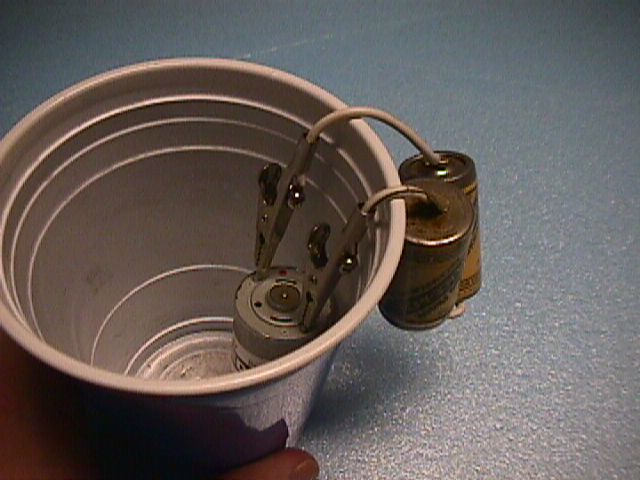
Disposable Cup
Start by making a two cell (sub-c's work great) pack with clips. Fill a disposable cup up with water. Take your new motor and hook ONE lead of the battery pack to the motor BACKWARDS. That's right, we're going to run it backwards first. Submerge the motor into the water, THEN hook up the other lead. Make sure the motor shaft is not touching anything, making sure there is no load. Let it run like this for 5 minutes. When 5 min. is up, disconnect the motor, and reconnect it so the motor runs forward (- to -, + to +). Run another 5 min., like before, submurged. When that is done, disconnect the motor and remove from water. The water should be very dark. What's happening is the motor brushes a wearing down and the water is removing the debree, making the water dark.
Now get your Motor Cleaner and saturate the inside of the motor, making sure the commontator is completely soaked. This will remove all the water and protect it from oxidation. Run the motor during this step again, making sure all the water is removed and the commontator is clean.
Dry the motor the best you can. Now apply one drop of Light Machine Oil to the bushings where the motor shaft comes out at each end. Run the unloaded motor again for a few seconds, using your small battery pack. This will help the oil get into the bushing. When done, whip off the excess oil with a clean cloth, or towel. You're done - motor is broke in, Brushes are seated, Motor is cleaned, and the Bushings are oiled.
Items used for Motor Break-in
Speed 400 Motor Timing - (Get the Most Power out of your Motor)
Timing a Motor is crutial if you want to get the most Power you can out of it! There are many differnt ways to time a motor as well. I'll tell you how to do the one I like to use.
Items you'll need:
"Broke-in" Motor
Timing Tool
Vise
Battery Pack
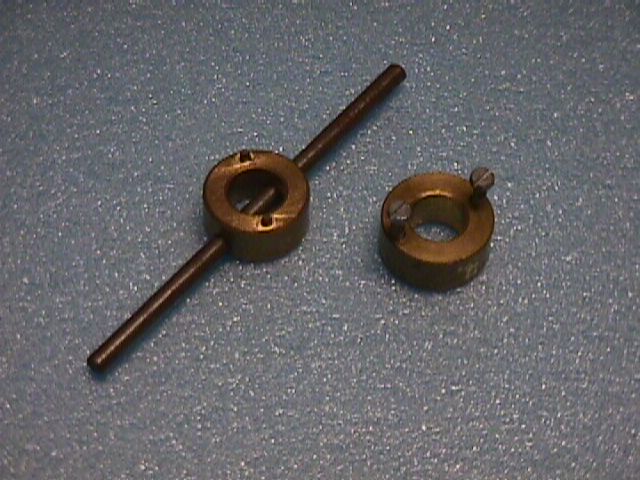
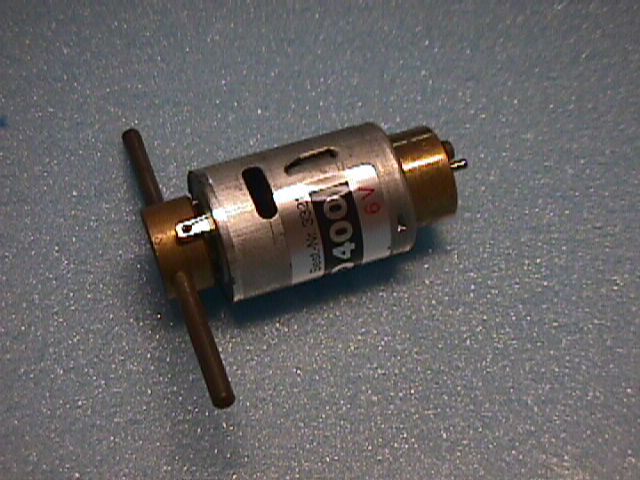
I use a "Timing Tool" I purchased from one of the electric hobby vendors. They're a fairly inexspensive tool buy, or if you're creative, I'm sure you could make your own without too much trouble. Hook up the Timing Tool by placing the brass ring (without the hole for the rod) on the front of your motor and secure in place using the supplied screws. You may have to shorten the screws so the motor turns freely when the screws a snug (I did). Now put your motor in a vise so that the brass ring is secure between the jaws. Put the other brass ring (the one with the hole for the rod and the two pins sticking out of it) on the back of the motor. The pins should fit inside two coorasponding holes on the back plate. Don't be suprised if your pins don't fit perfectly, my pins had to be filed in order to fit in the holes. Now slide the rod through the brass ring. VERY IMPORTANT!!! - Turn the back plate counter clockwise as viewing the back of the motor. You don't need to loosen the crimps that hold the back plate on. If you tourque the rod hard enough, the plate will move. The amount will very from motor to motor. To find out how much you need to move your back plate is by what you see. Hook up your batterie pack and run your motor (unloaded) while looking at the brushes and the commontator. You will see some sparks or arcing. Remove the battery pack. Now move your back plate some small amount, like 3 mm. Hook up your battery pack again and check for arcing. Continue this process until the arcing is gone, or as minimal as possible. Remove the tool and your done.
Items used for Motor Timing

Prop Twisting
Items you'll need:
Propeller (preferably a Graupner CAM series)
Propeller Guage
Heat Gun (or hair dryer)
The reason for doing this is to get more SPEED out of our setups. More pitch=More speed. More Diameter=More pull.
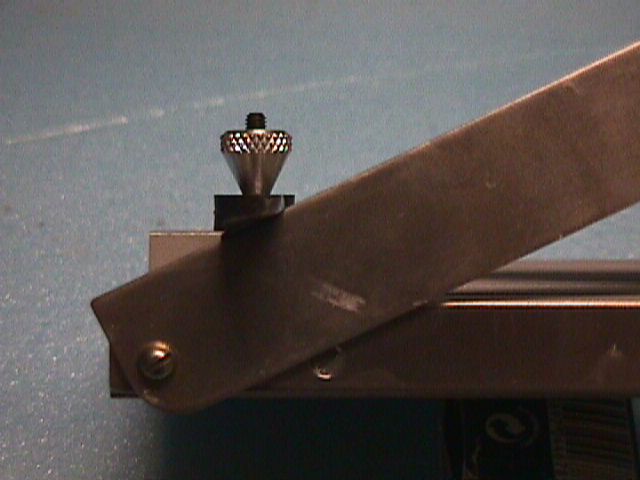
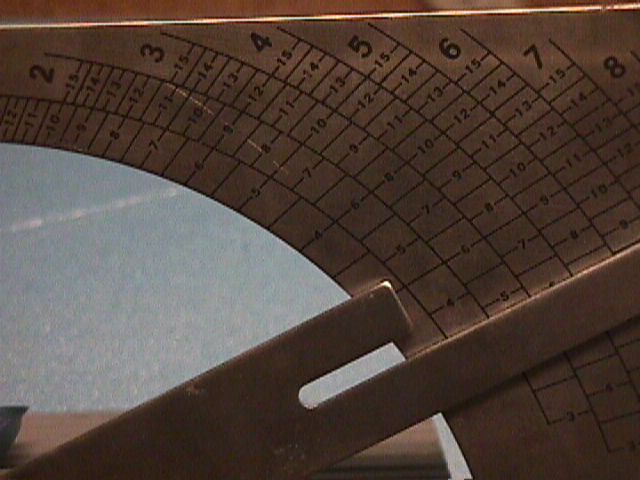
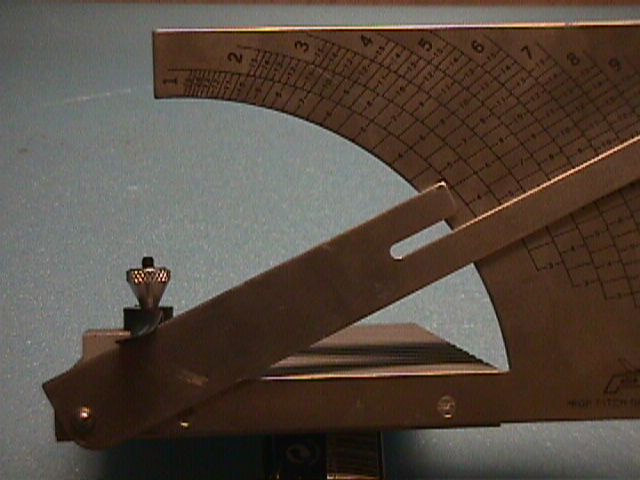
Lets start with the Prop Guage. I had a hard time finding one, so if you know of a source, please let me know so I can post it. Mine is made by Prather and it's a very nice set up. Take a CAM 4.75x4.75 prop and place it on the prop hub. Use the reference bar to check your existing pitch. I find the CAM 4.75x4.75 usually turns out to be 4.75x4.0 to 4.5.
To adjust the pitch of the prop., take your heat gun and apply heat to the center hub of the prop. After about a minute of heat, pick up the prop (carefull! it's HOT), and twist the blades using your fingers as close to the center hub as possible. Blow on the prop to cool, and recheck the pitch. Repeat until you get the desired pitch. I find somewhere between 5 and 5.2 is a good place for Speed 400 Pylon Racing
The props will retain some memory. So after a couple races, or if they're left in the sun, or you car, the pitch may go back to the way it came out of the package. Simply replace with a new repitched prop before racing, and repitch the old prop when you get home.
Items used for Prop Twisting
Ridgid Antennas
Items you'll need:
Reciever to be modified
Music wire (I'll get back to you with the size. Yes, size DOES matter!)
Soldering Iron with a small tip
Solder and paste for electrical work (there is a difference)
Shrink tubing
Heat Gun
CAUTION!!! Don't try this without previous soldering experience. You are at risk of permanently damaging your reciever. This process will also void any warranties you may have.
The reason for doing this is that a ridgid antenna without the protective coating will have a smaller overall diameter and much less drag. Also, a flexable antenna will whip back and forth creating more drag than one thats ridgid.
Measure the length of the antenna on the reciever you intend to modify. Cut the music wire to the exact same length! Take you soldering iron and remove the old antenna (be very carefull to only unsolder the antenna! There are many traces and components put close together on the boards and you don't want to affect them). Use a piece of shrink tubing cut the length of the distance from where the antenna gets soldered, to where it will exit the reciever. This will help prevent shorting of other components (read - CRASH). Bend a very small amount of the end of the wire back on its self. It should not be bigger than what will be consumed/covered by solder when done. Shrink the tubing using a heat gun. Tin the bent end with solder. Now solder the antenna to the reciever exactly like the old one was.p>
Battery Cycling
Deatils to come
Race Charging
Deatils to come
Zapped Packs
Zapped batteries will reduce the resistance within a cell or pack.
In Speed 400 pylon racing, the use of 7 cell 500AR cells are most prevalent. You can purchase Zapped 500AR cells from a couple vendors. As they will tell you, you may, or may not notice the difference in performace using this size cell. Any benefit from zapped pack in this class would be slight at best. But if you're a "top dog" competing against other top dogs, every little bit helps!
Now if you're using larger cells, like the type used in the F5D class, then Zapped cells are almost a must! Zapping 1000, 1700, and 2000 mah cells really reduces the internal resistance. This is where zapping performance is most noticable.
"Special" Wings
Check with the manufactured before you buy your kit. Because the speed 400 arena is can be so competitive, the manufactures are always looking for an upper hand. With new computer programs and a lot of R&D, new wing designs are constantly being tried. To make sure you're getting the latest and greatest, ask!