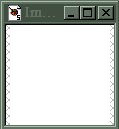
Step
#3.)
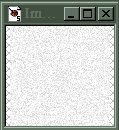
After
the noise has been created, I like to change the image to gray scale to
remove unwanted colors and then back again to 16 million colors so you
can use the layer features of PSP. After your images has been change back
to 16 million colors go to the layers menu and select new lately. You will
not see any visible change in your images, but it now has in invisible
lately for you to work on. |
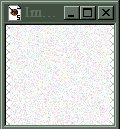
Step
#4.)
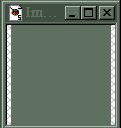
Once
you have added the layer to your original image, go to the color
menu and select the color you wish for your background.
 Flood
Fill the layer with the Flood
Fill the layer with the
|
Step
#5.)
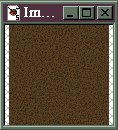
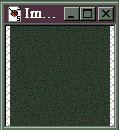
Once
you have an image similar to the one on the left go back to the layers
menu and select properties. Next change blend mode to modify. In most cased
you will want to leave the opacity to 100 by you can play with this setting
to achieve the effect you want.
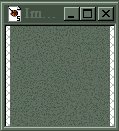
When
you use the modify option of the layers menu, it will combine the bottom
layer with then color layer to produce a darker color.
As
a final step merge all layers (Flatter) That is pretty much it. You now
have a background that will tile seamlessly.
|
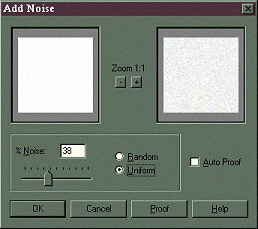
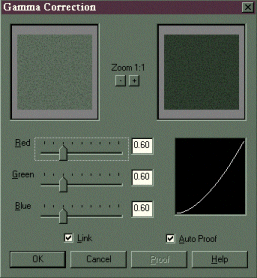
 Sliding the bars to the right make the the image lighter, to the left darker.
Before attempting this process, you might want to duplicate your original
several times and then play with the duplicates.
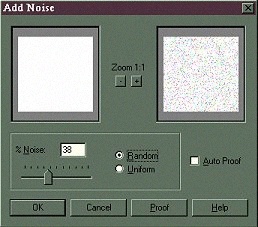
Sliding the bars to the right make the the image lighter, to the left darker.
Before attempting this process, you might want to duplicate your original
several times and then play with the duplicates.