
Thomm's CC4 Grand Campaign Review Page
|
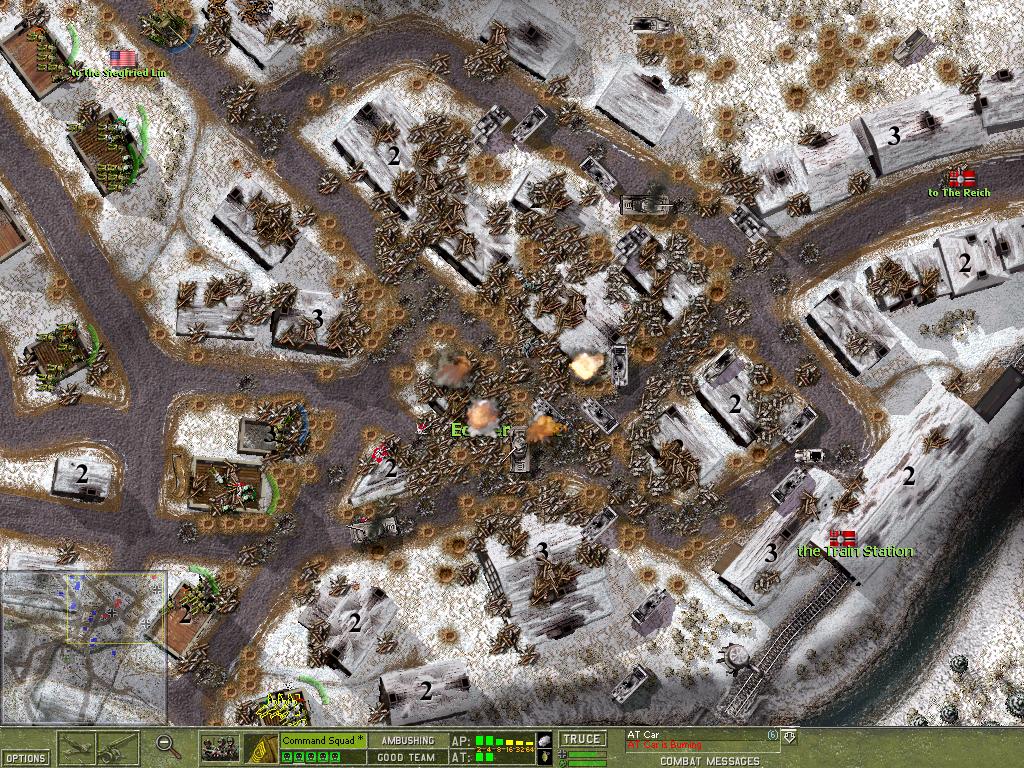
This page describes my experiences in a Close Combat IV Grand Campaign as the US versus the Computer. The settings were 'Veteran' for the AI (to avoid the appearance of 'Wurfrahmen' rocket launchers on patch level 4.02) and 'Hero' for myself. The tactical battles were set to end after all victory locations were taken with no time restraint and no previous warning. In retrospect, I regret not having set a time limit. Although I prefer a slow-paced game, sometimes, especially when I had to counter-attack, the tactical battle took more than an hour to be finished. Also, the 'no warning' setting enabled me to use 'rush the last victory location' tactics on some maps (especially on the 'Echternacht' map, where you can attack the 'to the Reich' victory location from the south and avoid a fight with the remaining enemy troops, see screenshot below). All in all, I cannot believe that I actually finished this thing! The Close Combat 4 Grand Campaign is a truly epic undertaking! It takes literally hundreds of battles to finish it.
The fact that I achieved a total victory at the latest possible moment (afternoon turn of the 31st) does of course satisfy me! Actually the last moves were easier than I anticipated because I disbanded most of the battelgroups on the morning turn and then found the 'critical' German start maps unoccupied on the afternoon turn. I thought that I would find lower quality groups there, but since I destroyed the groups which started there in the morning turn, the maps stayed empty. This is a very good thing because attacking across open ground is a very costly undertaking in Close Combat. This was also true for the Artificial Intelligence, which most of the time took heavy casualties. It has been blamed repeatedly for being 'stupid', but I disagree. The times when I had to counter-attack against an entrenched enemy were always a blood-bath. And the AI was attacking most of the time. So little wonder it took too many casualties. But considering the circumstances the AI does quite well, I think. The fact alone, that the AI leads with infantry teams, caused me considerable concern. I have to admit that most of the time the AI was able to seize the main victory location and I was only able to grab it back because it moved it's troops away towards the next victory location. Had it just stayed and called for a truce, I would not have been able to counter-attack successfully. But since it was slowly attrited on its trip to the next victory location, I could achieve a victory in most cases. The AI is also frequently accused of 'camping'. I have to admit that whenever the AI was camping (especially tanks without infantry support) it did so for a good reason. Of course I begged it to move into my kill zones, but would that have made it a better AI? I do not think so! The only criticism I want to voice is that if the AI does not see a way to advance further, it should offer a truce earlier, not only when it is close to being disbanded. This way it could extend it's deploy zone and bring itself in a better position to counter-attack. Furthermore, the AI was not able to put stand-off fire on ambushing teams. Therefore, the advancing infantry was slowly chewed up, especially since they prefer to crawl or stay pinned in open ground. The human player is obviously more capable of spotting muzzle flashes and put down suppressive area fire. Fortunately. Another option I would like to see is the ability of the AI to remember the player's deployment scheme. Towards the end of the campaign I knew the 'ideal' set-up for most maps and deployed in the same pattern again and again. If the AI had shelled the respective positions as a precaution, the game would have ended differently! This is especially true for buildings, which were the main line of resistance of every defense. I was surprised that I could evacuate teams in buildings under heavy fire. Most of the time at least 50 percent of the soldiers survived. This was especially convenient in the case of bazooka teams. They could be kept alive quite well by making them attack by issuing the 'Defend' order and putting them on 'Ambush' to reload. Generally, preferring 'Defend' over 'Fire' is the recommended approach. The teams intelligence should be trusted! Most of the time they did have a good reason not to fire. And when their self-preserving instinct was overruled by the 'Fire' order, they not seldom perished soon afterwards. Something I learned towards the end of the Campaign was the fact that tanks which are put on 'Ambush' only engage other tanks and actively chamber armor piercing rounds, even replacing chambered high explosive rounds in the process (thanks to Cappy-R for pointing this out). A note on the King Tigers: At German 'Veteran' level I encountered only a few (two? three?) of these things. They are an absolute nightmare! I have never managed anything better than an immobilzation shot against these monsters. Except once, when one of them came close to a machine gun team. It obviously blew the cat up with a satchel charge, after countless tank rounds just bounced off! A note on mortars: they are quite efficient against open topped vehicles! Usually one can achieve one or two kills with the crew-served teams (20 rounds) or even more with the mortar vehicles. On the other hand you have to keep your own vehicles in motion to avoid destruction. Since vehicles and tanks can easily be spotted by everybody (the 'bee-hive' syndrom) they come under fire very soon. Move them out! Do not forget to check frequently that they are not under fire! It is most annoying to find your tank destroyers abandoned just because you focused on another region of the battle-field and did not pay attention to them.
|
|
The reward after countless hours of battle (apart from the nice video clip)! Total victory for the Allies, on the last day of the Grand Campaign. I am curious if this can be achieved earlier. I was too afraid to advance into the relatively open border maps until the last turn. I do not think that total victories are easy on maps like 'Siegfried Line'. But maybe I was too cautious. Also, it took me a lot of time to bring my heavy tank battlegroups up to the (northern) front, where they could defeat the armored battlegroups that kept attacking on the Northern Shoulder! Do I have to mention 'Kampfgruppe Peiper'? |
|
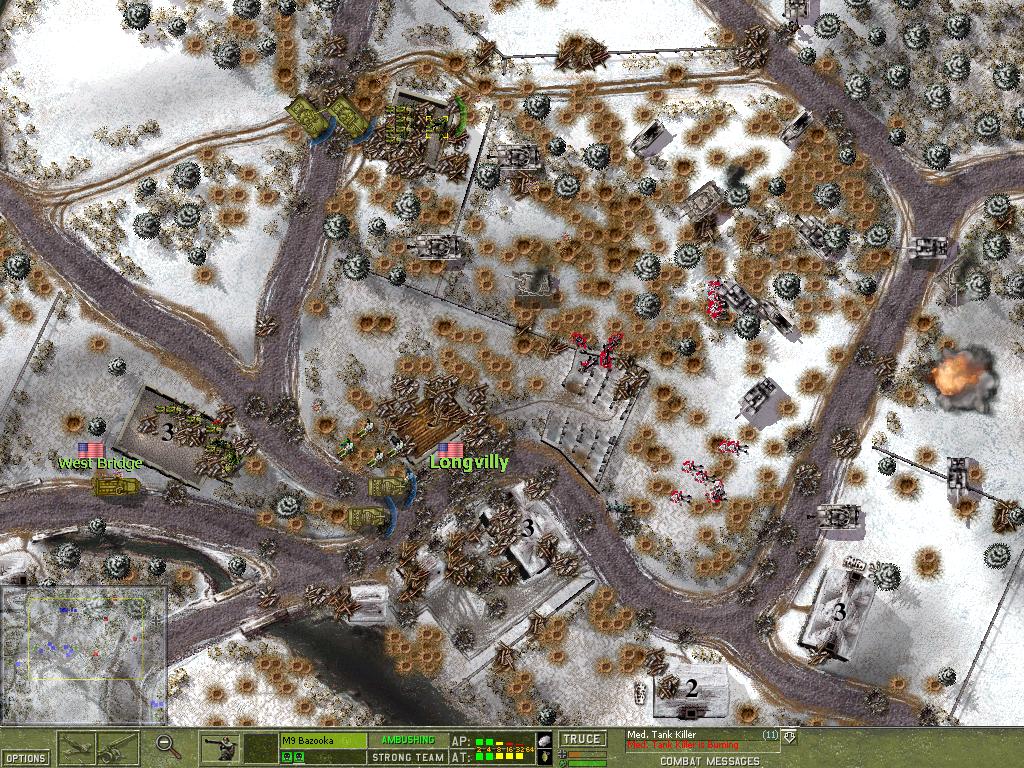
In this section you find three screenshots taken on the last day of the Grand Campaign. Large parts of the buildings have been turned into rubble! The scars of countless barrages are dug into the landscape! This is something you will see to this extent only during a Grand Campaign and I want to put up these examples for those who do not want to go through the whole thing themselves! It should also be noted, that the degree of destruction of the buildings has a severe effect on the concealment they offer. If a wall is turned into rubble, for example, the floor element lying behind it offers considerably less concealment. You also have to be aware that in a building which looks completely destroyed it is possible that single 'columns' of high-level (L2-L4) elements stand out from the rubble. This leads to unpleasant surprises when teams crawl across the ruins unspotted and then, all of a sudden, single team members are 'teleported' on top of a column and spotted by the whole enemy army! |

|
|
|