Note, if you need detailed info on the installation ask me, This page
only outlines the basic steps and should give you an idea about whats involved.
Before proceeding, ensure your motor is at TOP DEAD CENTER, and remember to
MARK everything's position
|
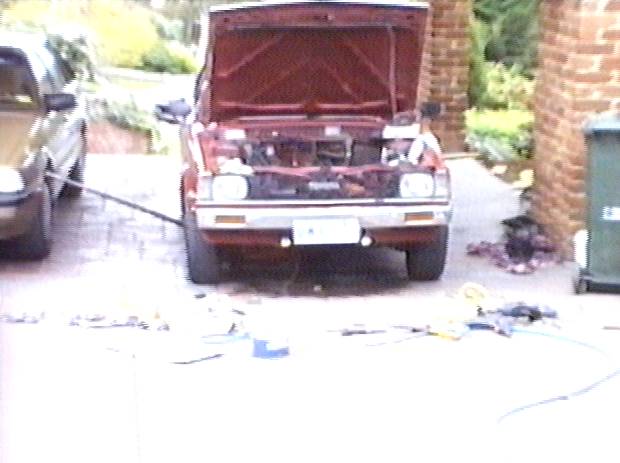
1.) Resolution: 620 x 463 Colordepth: 16M Type: JPEG Comment: Gearbox X-member dropped, radiator out, head off, Engine angles upwards |
|
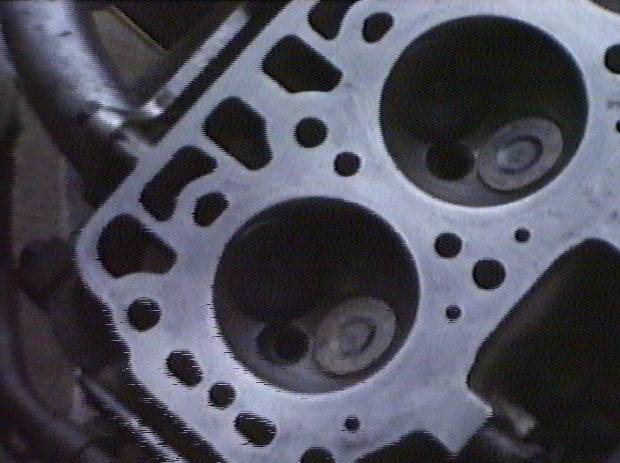
2.) Resolution: 620 x 463 Colordepth: 16M Type: JPEG Comment: Underside of the head after cleaning. |
|
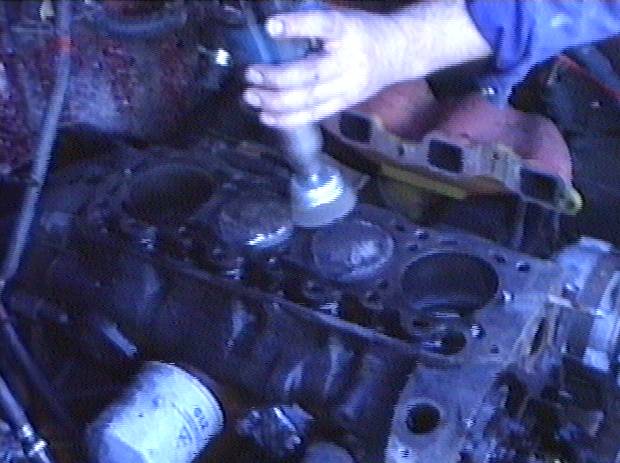
3.) Resolution: 620 x 463 Colordepth: 16M Type: JPEG Comment: Remove timing cover and Clean up the pistons |
|
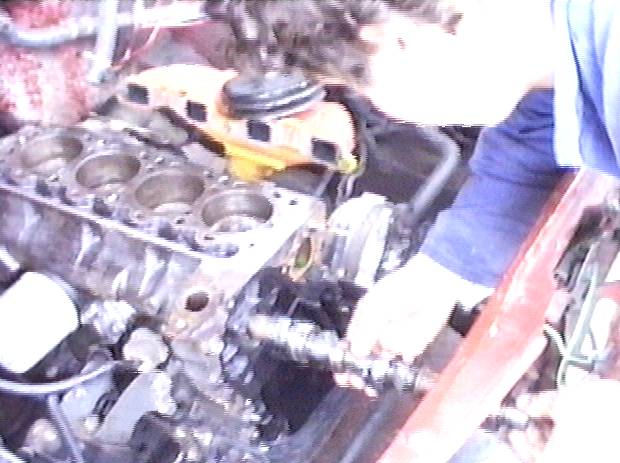
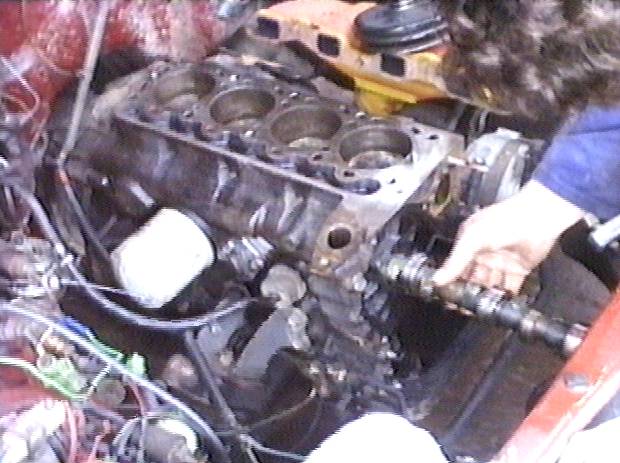
4.) Resolution: 620 x 463 Colordepth: 16M Type: JPEG Comment: Head off, timing cover off, take sprocket and retainer off. MARK chain |
|
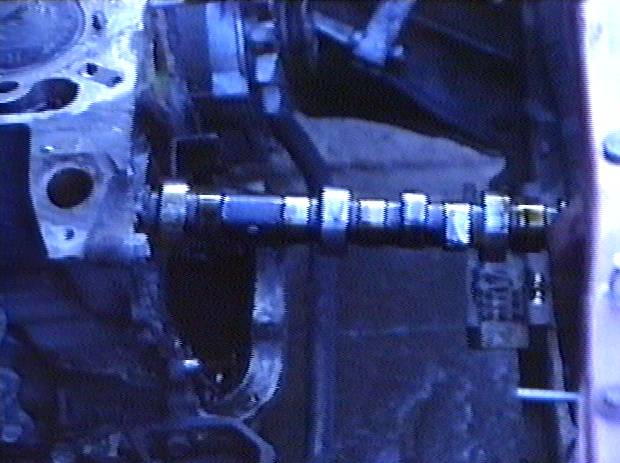
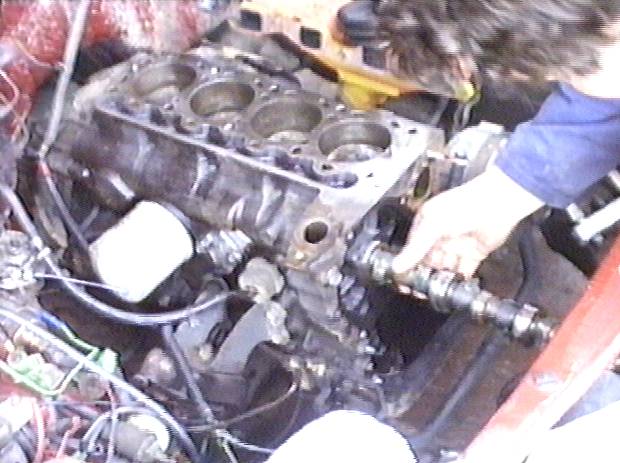
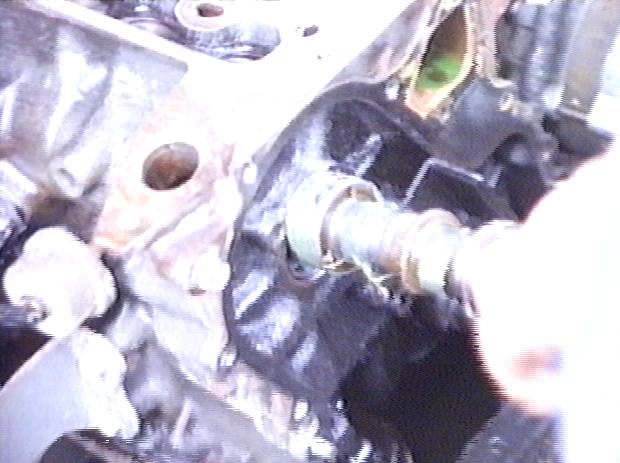
5.) Resolution: 620 x 463 Colordepth: 16M Type: JPEG Comment: Retract the old cam, careful not to damage bearings. |
|
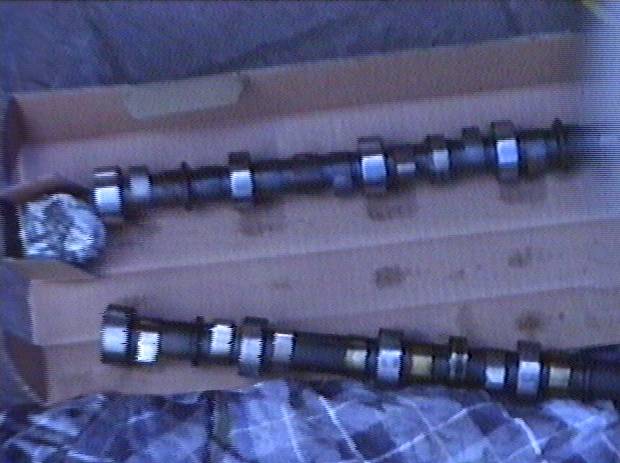
6.) Resolution: 620 x 463 Colordepth: 16M Type: JPEG Comment: Comparison, old VS new cams. |
|
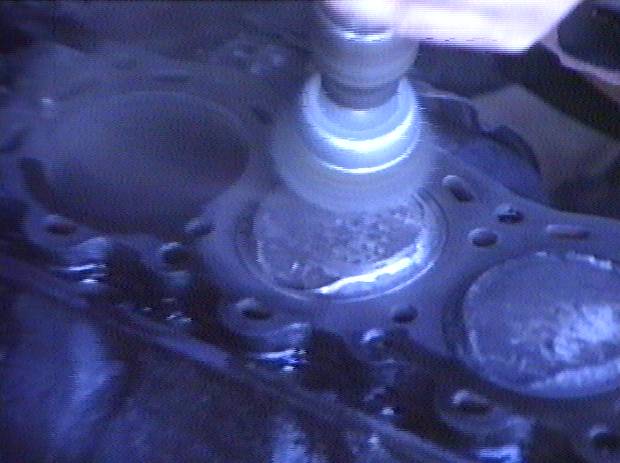
7.) Resolution: 620 x 463 Colordepth: 16M Type: JPEG Comment: Ensure clean surface for new head gasket. |
|
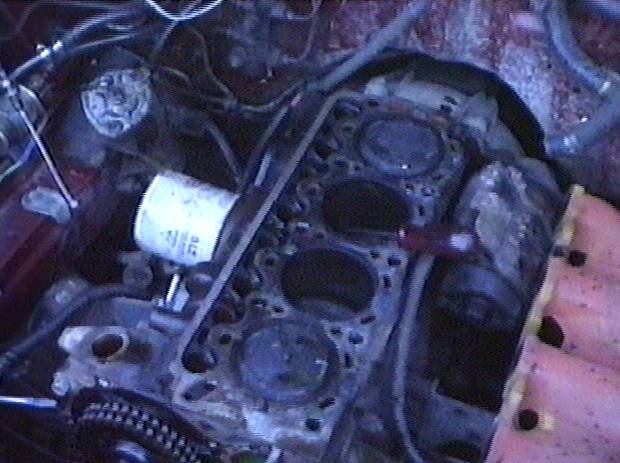
8.) Resolution: 620 x 463 Colordepth: 16M Type: JPEG Comment: Notice those horrid air injectors on Exhaust side? |
|
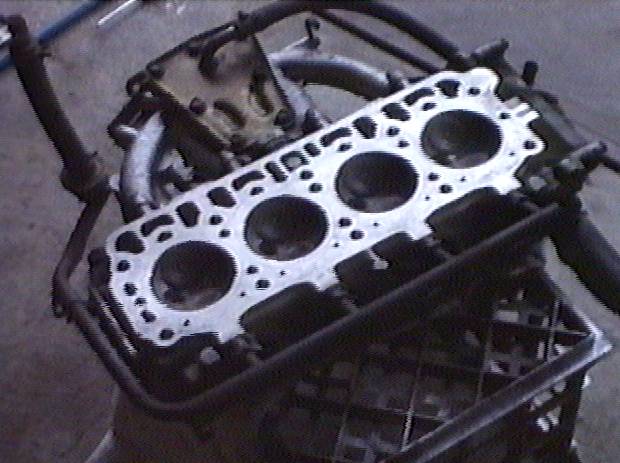
9.) Resolution: 620 x 463 Colordepth: 16M Type: JPEG Comment: Hemi Head - not bad :) |
|
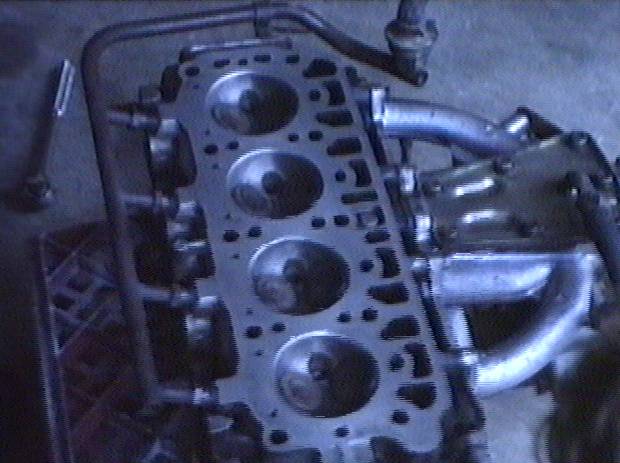
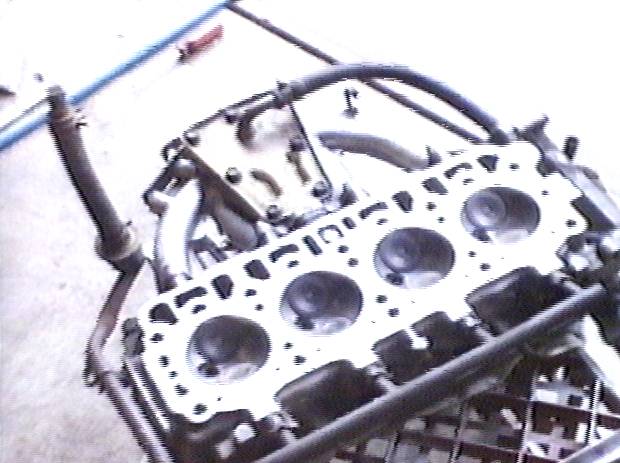
10.) Resolution: 620 x 463 Colordepth: 16M Type: JPEG Comment: Complete 3TC head, clean it all up nice for new gasket. |
|
11.) Resolution: 620 x 463 Colordepth: 16M Type: JPEG Comment: Insert the new cam, mind the bearings, and GREASE IT UP FIRST! |
|
12.) Resolution: 620 x 463 Colordepth: 16M Type: JPEG Comment: It can be difficult to get the cam in, just persist in rolling it around. |
|
13.) Resolution: 620 x 463 Colordepth: 16M Type: JPEG Comment: Rotate cam until it slots all the way in, careful u dont lose a bearing! |
|
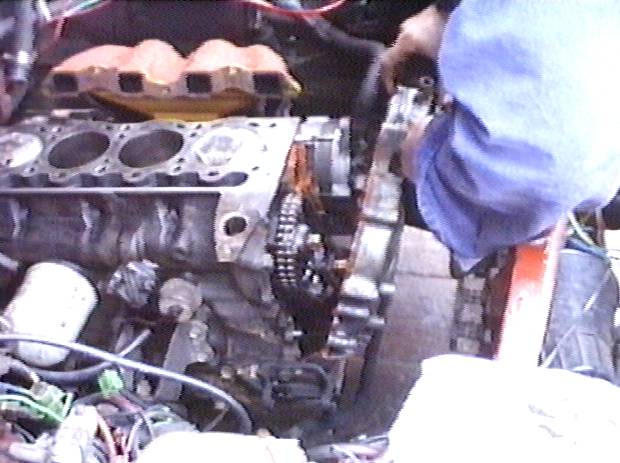
14.) Resolution: 620 x 463 Colordepth: 16M Type: JPEG Comment: The new cam NEARLY in. Once in bolt up retainter, replace sprocket. |
|
15.) Resolution: 620 x 463 Colordepth: 16M Type: JPEG Comment: Apply new gasket forming compund, Replace the timing cover. |
|
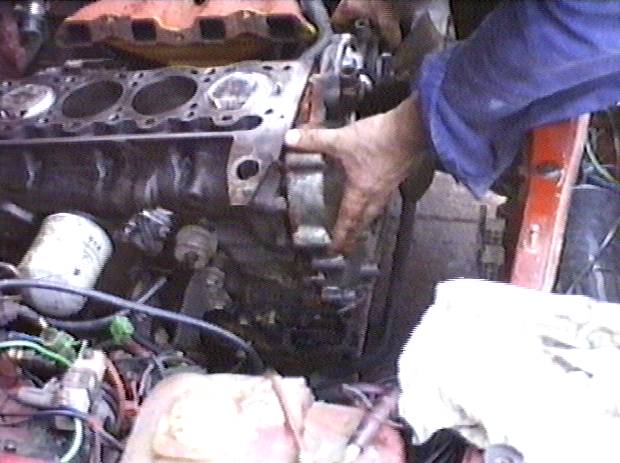
16.) Resolution: 620 x 463 Colordepth: 16M Type: JPEG Comment: make sure its sealed all the way around, and fix some retaining bolts. |
|
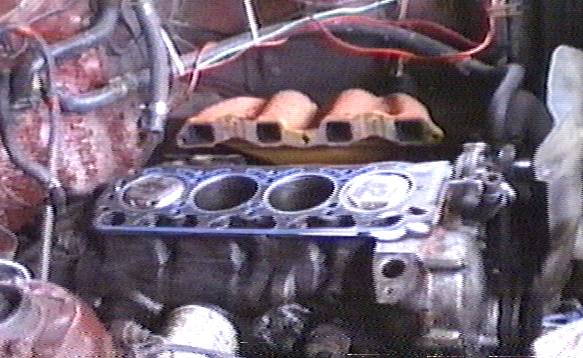
17.) Resolution: 583 x 358 Colordepth: 16M Type: JPEG Comment: Put new headgasket on. |
|
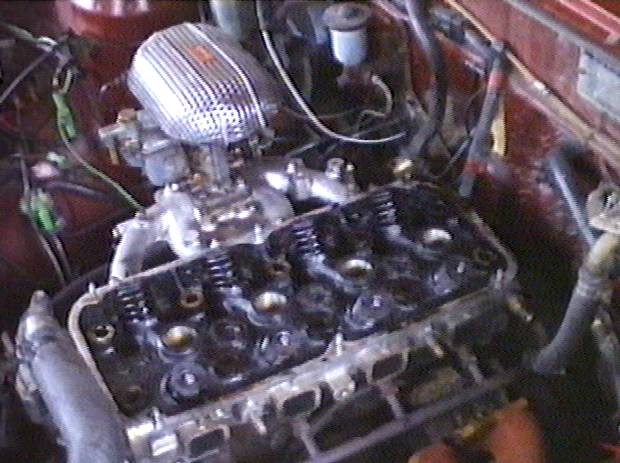
18.) Resolution: 620 x 463 Colordepth: 16M Type: JPEG Comment: The heads going back on. |
|
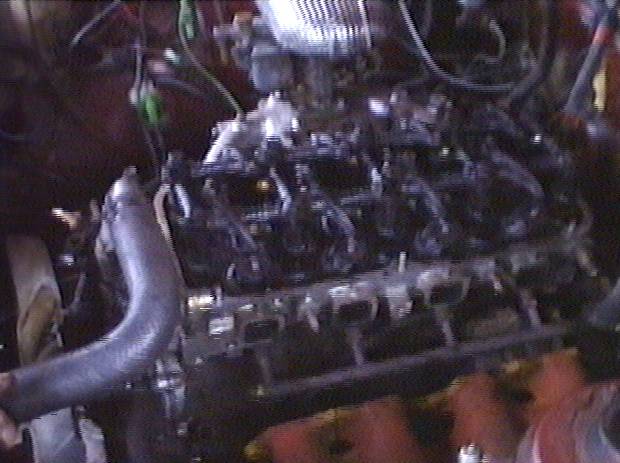
19.) Resolution: 620 x 463 Colordepth: 16M Type: JPEG Comment: Head bolts back in, now Dial the cam in.. |
|
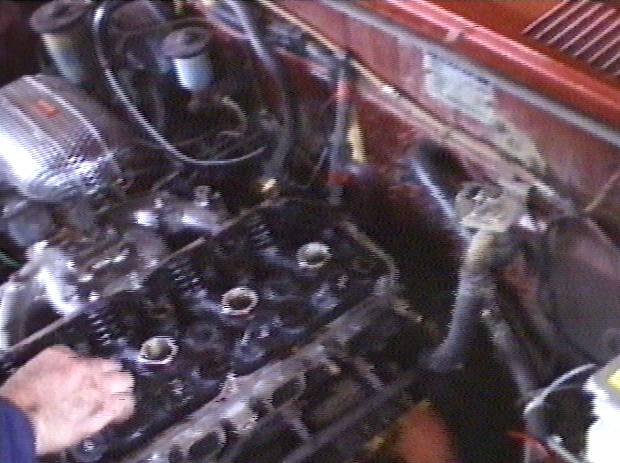
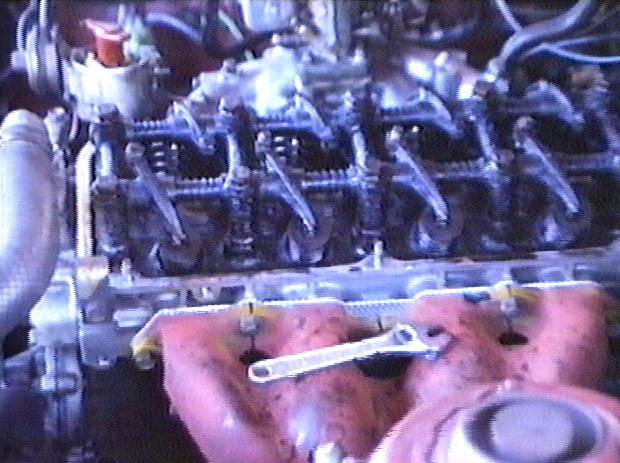
20.) Resolution: 620 x 463 Colordepth: 16M Type: JPEG Comment: Rockers, waiting for clearance check. |
|
21.) Resolution: 620 x 463 Colordepth: 16M Type: JPEG Comment: Adjust the clearances as specified by cam manufacturer. Its been a long time since I did my cam, but I think that might help.. Also redo the valve clearances after you get the engine warm. |
HOPE IT HELPED!