|
Please Maximize this page, it will make it easier to view....Missy .
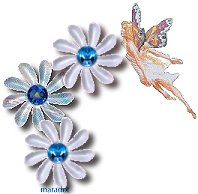
Hi, I wrote this for my list and wanted to share it with you guys too...since you all share such great tutorials! I hope some of you will enjoy this one...I am using psp6...full version...but Its basically the same as 5. . . Ok I'm going to show you how to make this...
. Everything needed to make this project is in this Download .
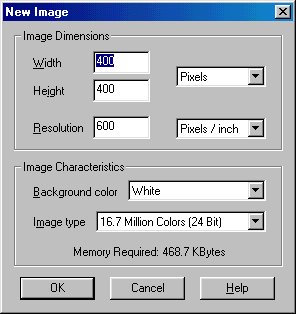
now open psp... install the tubes and then open the above patterns... now open a blank sheet 400x400
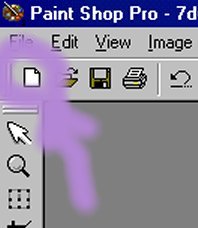
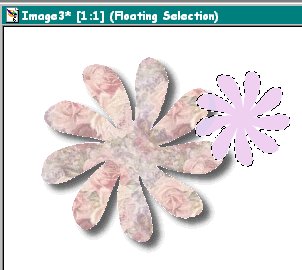
now go to layers 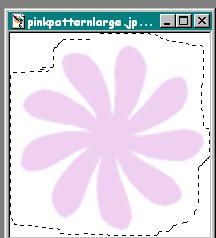 go to image, then crop....now go to edit and then copy...now click on your blank sheet and now go to edit, then paste as a transparent image.... now move it to where you want it...now lets add a pattern... I picked this one... now I open this in psp...went to my flood fill tool
now lets add a drop shadow...go to image, effects, drop shadow... I used these settings... Color - Black Opacity - 71 Blur - 9.4 Vertical - 6 Horizontal - 7 Click ok...now go to selections, and select none to stop the marching ants... and we now have this..
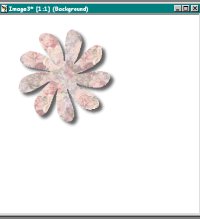
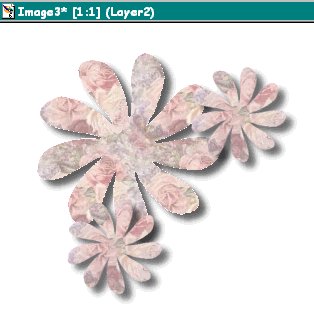
now we want to add the little flowers to the group...so go to layers, new... when the box opens click OK...now follow the basic steps from before... using freehand tool now go to image, crop now go to edit , copy now click on your big page... now go to edit paste as transparent image... now you have this...
now its time to add the pattern again... so flood fill
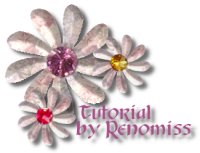
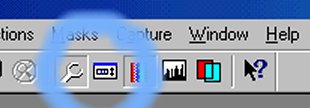
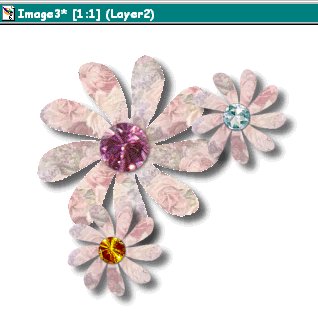
Now lets add some jewels...the gem tubes are attached... just click on your picture tube tool and then open your toggle control palette and find your gem tube... now for the big flower...leave it at 100%...and then just click in the center of the big flower...you may have to do this a few times...going to edit and undo if you don't care for the color gem that comes up....do it to you are satisfied with the gem... now for the smaller flowers set the gem size at 55% and then click in the center again...remember just go to edit and undo and then try it again until you get your desired gem...
Now just add your name...click on the dropper tool then click on the text tool once you are happy with the color,size and font...click Ok... your name now is on your tag...now position it to where you want it... I chose to rotate it...I clicked on image, then rotate.... checked Left...and Free and typed in 45....then clicked Ok... now I wanted to add a drop shadow to my name so I went to image, effects, drop shadow and just clicked ok....I used the same settings as before... now I went to my crop tool and there you have it....
you can definitely take this other ways too....if you have eye candy and care to make the flowers beveled...you can add those steps in before the drop shadows....on each flower....by clicking on...image, plugin filters, eyecandy, inner bevel.......and use these setting... .Bevel width - 30 Bevel Shape - Button Smoothness - 2 Shadow Depth - 0 Highlight Brightness - 21 Highlight Sharpness - 11 Lighting Direction - 247 Inclination - 62 . and here is how it would look...
. Well have fun and try different fillers for different effects.... and share your results...I would love to see them...Missy . Any questions...just drop me an email... MM...I have a question about Flower Tutorial (be sure to put the above in the subject line!) . Thanks Missy for sharing this with us!!!!
Copyright � 2000 by [email protected], all rights reserved
. Below was made by another one of our members who tried this out... Beautiful! Sent in by: Maradot2
This site is sponsored and maintained in its entirety by Artists4psp Copyright � 1998-2001 by Artists4PSP, all rights reserved Artists4PSP Home Page | Join our Group | Contact: LdyArchrr
|


 to work
on....
to work
on....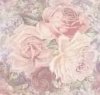
 and picked pattern from the drop menu...and then choose this pattern...now
I went back to my new flower pic and clicked on it...and now I have my
flower filled with my pattern...
and picked pattern from the drop menu...and then choose this pattern...now
I went back to my new flower pic and clicked on it...and now I have my
flower filled with my pattern...

 and drew my box around my tag...now I went to image and crop...now I
wanted to resize it so I went to image and resize...make sure maintain
aspect ration is checked and then just put 250 in first box and it will do
the rest...now click ok...
and drew my box around my tag...now I went to image and crop...now I
wanted to resize it so I went to image and resize...make sure maintain
aspect ration is checked and then just put 250 in first box and it will do
the rest...now click ok...