|
There was an old woman who lived in a shoe.. <g> ``` NOT ```
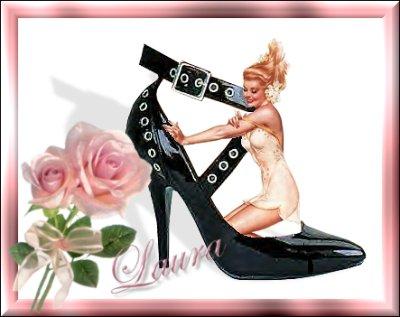
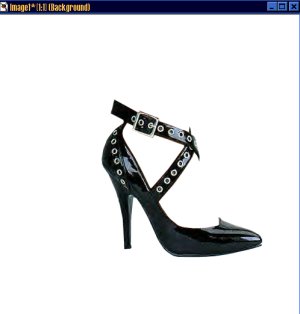
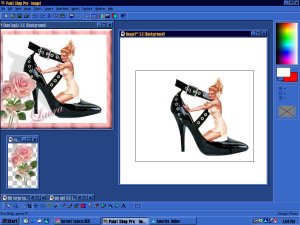
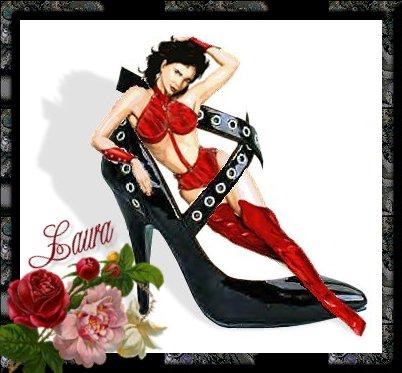
. Sexy Shoe Tutorial Constructed by: CakesCanDo . This tutorial is based on making this exact tag, but remember that many things can be done to change it, according to personal preferences.. :-) And there are just as many ways to work with PSP.. this is just how I do it.... :-) So ....... let's get busy <haha> . DOWNLOAD the tubes used in this tutorial. . Open a new image in psp with a white background/size 500X500 pixels. Bring up all the tubs you will be using to your work area. Open the shoe tube>edit>copy (no resizing needed) Activate your blank image>edit>paste as new selection as shown:
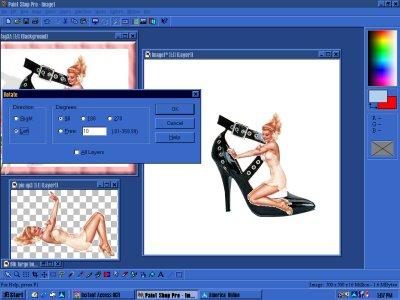
Open pin up tube>edit>copy (no resizing needed) Activate your image>edit>paste AS NEW LAYER Now go to image>mirror Now go to image>rotate 90degrees/left and position as shown:
We will have some cleaning up to do, but first let's tuck her legs inside the shoe.. You are now working on the NEW LAYER for this part. Click on your zoom tool and left click once on the image to enlarge it.
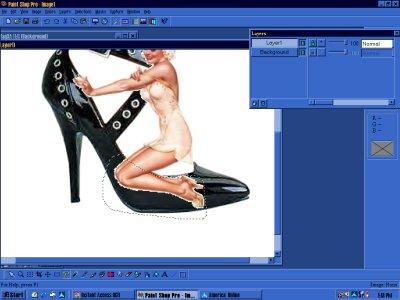
This will make it easier to see while you are working on it. Now click on the freehand tool and draw the area as shown:
Now click on the scissors to "cut" out the part we selected..
Now the legs are hidden. Go to selections>select none Then go to layers>merge>merge all (flatten) The next part is cleaning up. You will need to do this one step at a time, just like cleaning up tubes. You can use the dropper:
to choose a color, and then the paintbrush:
to fill in and cover up the needed finishes. This will require time and patience, lol.. When you are happy with it, return it to it's original size by clicking on the zoom tool and right clicking on the image. Now click on the cropping tool and crop as shown:
Next go to Image>sharpen>sharpen To give her a drop shadow, go to your magic wand:
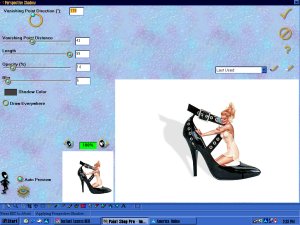
and click on the white background of the image around the shoe. Go to Selections>invert - then go to Image>Plugins>Eye Candy>Perspective Shadow and use these settings:
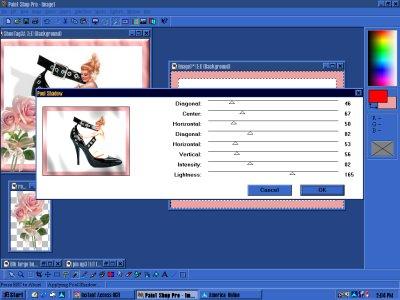
Then go to Selections>select none. Now to make the border select the dropper again to pick up the rose pink color, and go to Image>add border and pick #20. Then click on that border with the magic wand to activate it, and go to Image>Plug- ins>Gregs Factory Output Vol II>Pool Shadow and set settings as shown:
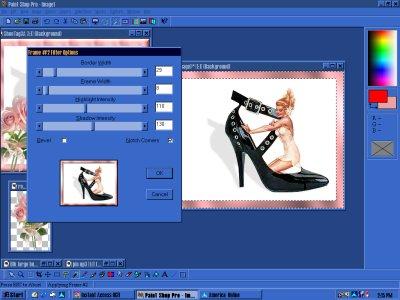
Leaving the border selected, go to Image>Plugins> NVR BorderMania>Frame #2, setting as shown:
Again, go to Selections>select none We are almost done. All that remains is opening the rose tube .. Image>resize>setting at 150w, then edit> copy>paste as new selection and position as desired. I rotated this one 30degrees/right. Finally, using the same color as the frame, I added text (my name), in Edwardian Script ITC, in size 40> rotated left 20degrees, and used Image>Plugins>Blade Pro>preset>colored flowers..
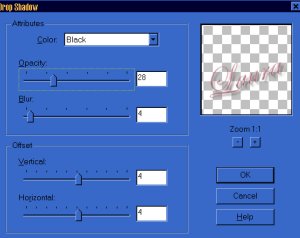
Then I added a drop shadow.. Image>effects>drop shadow using these settings:
Finally... Selections>select none Resize the image, if desired.. Image>resize This one was resized to 400w
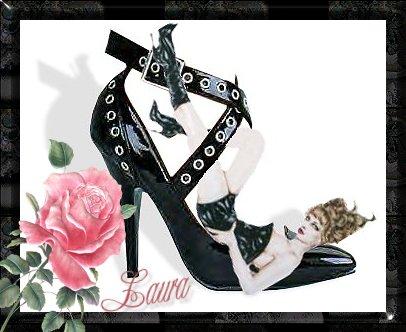
Note: tubes are attached for the following tags as well: .
. Please enjoy this tutorial, and I thank you for giving proper credit when sharing.
Copyright � 2000 by CakesCanDo, all rights reserved
This site is sponsored and maintained in its entirety by Artists4psp Copyright � 1998-2001 by Artists4PSP, all rights reserved Artists4PSP Home Page | Join our Group | Contact: LdyArchrr
|
