.

.
I am going to take you through the steps that I used to make the border at left. I have refined this over a period of time, but do not claim it is the absolute best way. However, it is my way. =)
.
I decided to make a set with this rose.

then to add something else, I chose
![]()
and

.
I open a new canvas, 500x500 with a transparent background.
I like lots of working room.
.
I copy and paste the rose 6 times.
Ctrl C (the rose) and Ctrl L 6 times on the new image.
Then I spread them around.
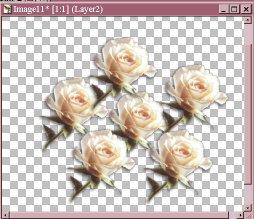
I just look at them for a bit to decide what I want to do with them.
.
When I am making a border, I have done it two different ways.
You can either working with your images all the way on the left side or in the middle.
.
Left side

For purposes of this tutorial, I will work on the left side.
I do prefer that as it gives me a true view of how the border will look.
.
Now I am going to play with the roses by rotating, resizing, mirroring until I
get something that I am happy with. Just be careful not to go to close to the
top or the bottom edge. Leave plenty of room there
.
I have used an odd amount of roses, (I just deleted the 6th rose)
making sure that the top and bottom rose are exactly the same...
facing same direction and size etc.

.
Remember to SAVE your work several times alone the way.
.
I use the little squares to help me line up the roses.
If I am not working on a transparent background, I bring up the Grid.
.
Now, I will see how the lace looks with it.
.
I copy and paste the lace twice, and send them to the bottom.
Then I tuck the lace underneath the roses using the little squares to line them up and I am also careful not to have the lace stick out from the top or the bottom.
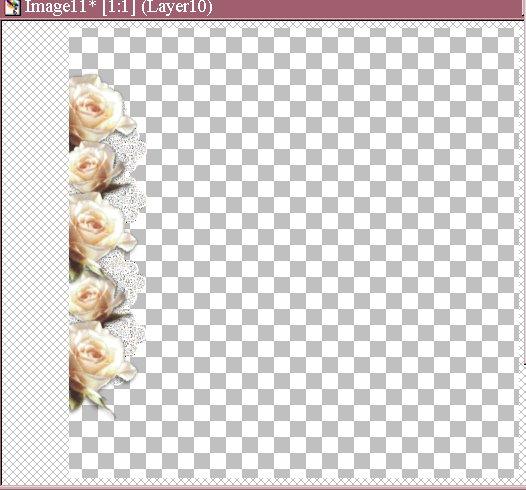
.
Add New Raster Layer
I do this so the pearls will be on top of the roses,
but I can still move them down under the roses if I wish.
.
Now I am going to add a few pearls.
I copy and paste one pearl and resize it to my liking.
Then I copy and paste it several times and moving them around till I am happy with it.
.
As you can see that while I am moving the pearls around,
I have brought up the Layer Pallet.
This enables me to move the pearls up or down where I want them.
You see I have tons and tons of layers, but I like to
be able to go back and manipulate the images.
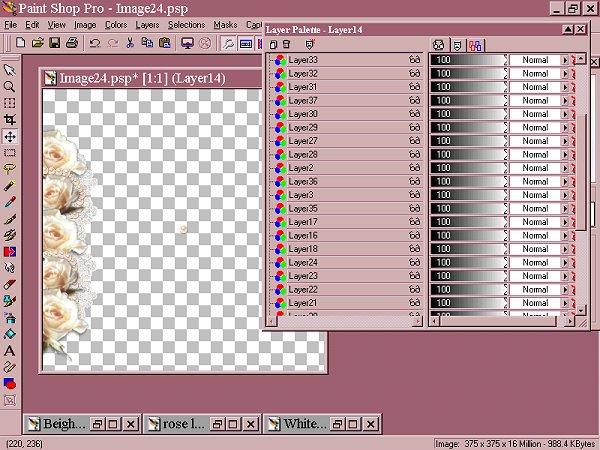
.
Now, I am happy with what I see, so MERGE VISIBLE
.
Click Selection Tool set at Rectangle
.
Block the border cutting into half the rose on the top and half the rose on the bottom.
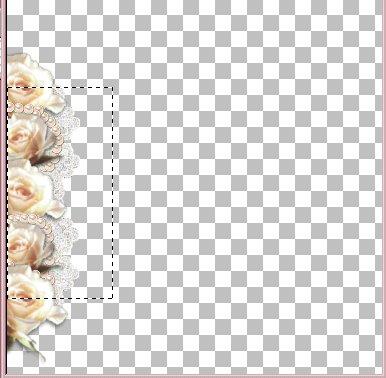
.
I use the center of the rose as my guide.
Copy and Paste as a new Image.
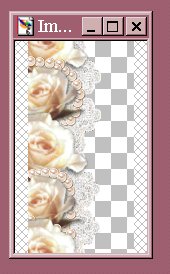
.
Set background color to White.
Add border to the right of 1200.
SAVE as JPG...and you're done =)
Copyright � 2000 by Mignon98, all rights reserved
| I, Mignon98 Give my permission to Ldy Archrr aka Artists for PSP to place any and all tutorials that I have made on her site.. this 18th day of October 2000. These tutorials were made solely by me and permission is mine to give. |
This site is sponsored and maintained in its entirety by Artists4psp
Copyright � 1998-2001 by Artists4PSP, all rights reserved
Artists4PSP Home Page | Join our Group | Contact: LdyArchrr