|


We will start by selecting a picture.
In this case, we are using the one below

We need to add a layer to the picture.
Click on Layers
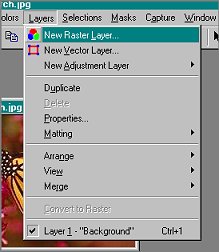
This screen appears

Click "OK"
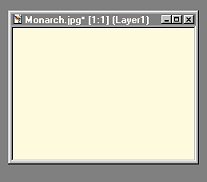
Select a complimentary color from the picture.
I chose the cream in the wings.
Flood Fill the picture using the chosen color
Mine looks like this
Now the hard part! Choosing which mask you want to use. Unfortunately, you
are unable to view the mask when selecting through the mask application
screen , so I do it this way..Go to FILE/BROWSE
Locate PSP/Masks then you can view all your masks and find the name of the
one you want.
To select the Mask to use,
Click on Masks
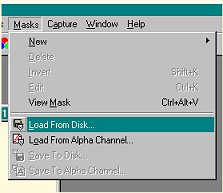
I have chosen Ragged Edge 2
Double click on your selection and the mask
is applied to your picture.
Depending on the mask, you may wish to "INVERT" the mask -
reversing the application.
Here is original application
Here is Inverted

To Invert, Click on Masks again, then
click on Invert.
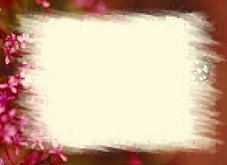
I added a border, used Ulead to frame and
here is finished product

Here is a tag I made using a mask and increasing the size little by
little, and layer by layer as well as changing the colors.

Copyright © 2000 by Fynetund,
all rights reserved
10-18-2000
I Fynetund hereby give permission to Ldy
Archrr to display any tutorials that I send to her. All
tutorials that I send will be of my own creation. |
This site is sponsored and
maintained in its entirety by Artists4psp
Copyright © 1998-2001 by
Artists4PSP, all rights reserved
Artists4PSP
Home Page | Join
our Group | Contact: LdyArchrr |