|
. 1. Open up a "New Image" .... size 250 width x 350 height. This is large but it seems to be easier to work with. You can resize it later when done. :o) . 2. Using the "Flood Fill" tool . 3. Click on "Veiw"......then on "Grids" . 4. Now, select the "Selection"
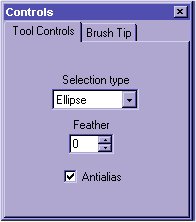
tool . 5. This box will appear:
Select "Ellipse" as the "Selection Type" . 6. Place your cursor at the bottom-middle of your new image. While holding down on your left mouse button, move it upward and outward until you get a "arch" shape.
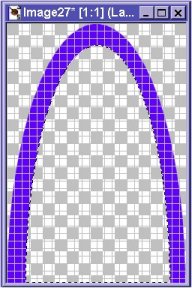
7. Now click on "Edit" ....then "Copy". Then click on "Edit" once again.....then "Paste" .....then "As New Image". . 8. Once again, using the "Selection" tool, run it upward-outward from the bottom-middle, leaving a gap. Then Click on "Edit" ....then "Cut".
9. Click on "Veiw" ....then "Grids" to remove them. . 10. Now, click on the "Magic
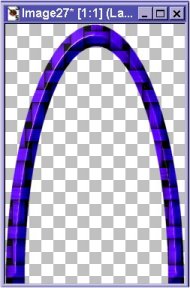
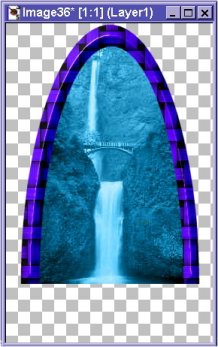
Wand" tool . 11. This is where you can apply filters. I used "Eye Candy....Weave" and "Unlead Web Plugins .... Button Designer - Any Shape" on this one.
12. Next, open up a picture you want to add. Make for sure you can resize it to a size where it will fit inside the frame. . 13. Using the "Selection" tool [
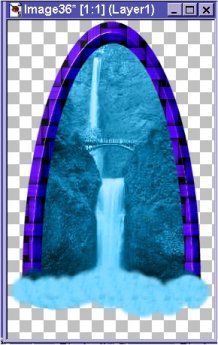
14. Open up a "New Image" ....size 275 width x 425 height . 15. "Copy" and "Paste" the picture onto this image. Then, "Copy" and "Paste" the frame over it.
16. Now it is time to play!! LOL Click on
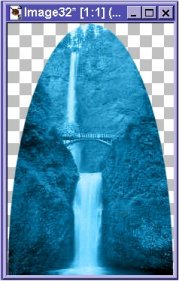
the "Clone Brush" tool . 17. Place your cursor where you want to add that part of the picture, hold down on your "left" mouse button and color away!!! You may have to repeat this several times to get the effect you want.
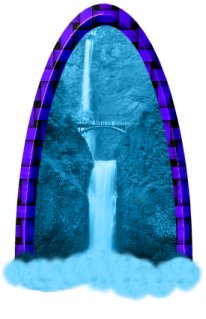
Here is the finished product. :o) Have fun!!!!
Copyright � 2000 by JJWa1, all rights reserved
This site is sponsored and maintained in its entirety by Artists4psp Copyright � 1998-2001 by Artists4PSP, all rights reserved Artists4PSP Home Page | Join our Group | Contact: LdyArchrr
|