|
For This
Tutorial ...You'll Need Paintshop Pro, and Animation Shop. I used Edwardian Script. It is attached in the above Zip 1. Start in Paintshop.
Click the New Icon
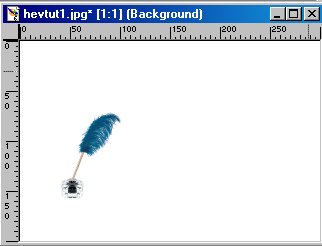
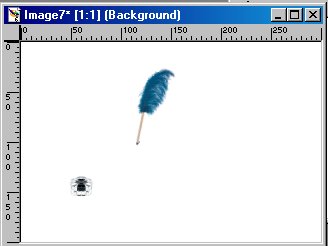
Next, Open the Quill image, included in the download above) and Copy and Paste it into the window... as I have below. Now Save As Image B.psp
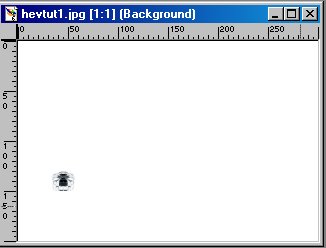
Note: Save As....Every Time you do something to this New Page. And Number or Letter them in Sequence. Image 1, Image 2, Image 3, or Image-a, Image-b, Image-c. Ect... Now Find the First Slide that we started out with, and Click F12 to Save As, and name it Image C.psp It will look like the Picture Below.
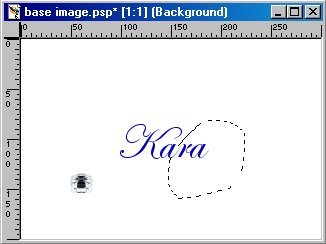
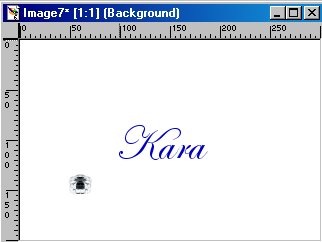
Now We Are Ready to Pick a Font. I am using "Edwardian Script" It's included in the download at the top. Place your Name or Your Message on the Page like I have done .. Below. Save as "Base Image.psp". We will be using this image a lot, so save it like this.. so that you won't lose it, should you have to stop in the middle of this animation and come back later.
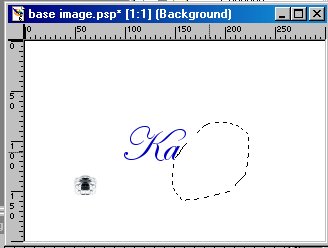
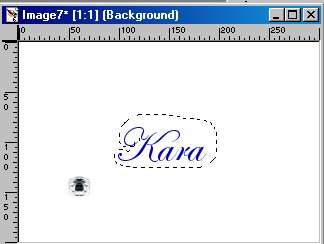
Now Click, Ctrl + C, to copy the image window, then Click Ctrl + V, To View the New Image Window. And you will have two identical Pictures, The one we've been working with, and a new one. We will work with the new Image.. but keep the original open to copy from.. :) we'll need to copy this window several times before we're finished, The reason for this is that we have to keep the Signature and the inkwell in the same place at all times... The only thing that will move on the animation.. is going to be the Quill. And the Text will re-appear as we go along. Now we're ready to do the signature. This is going to seem backwards... it's the easiest way I know of to do this... so what we do next is to take your freehand tool and circle all the text except for the first mark to be made with the Quill. Only Leave a small area showing ... a starting point for the Quill.. It should look something like this...
Make Sure that you position the Quill at the Ending Point of the Text Always, just like you would do if you were writing the text yourself. Your Pen would be at the end of the Letter.. not at the beginning... :) Also what we need to keep in mind is that a straight line can look smoothly in animation... with one stroke of the Quill. But a curve, That's the hard part. A Curve should take two, three, four, strokes to make it look smooth. So Since We're On A Curve to begin with here, It'll go slow, so to give you the idea, I'm going to show you slides 1 through 4 in my animation...This is how it will look.
All that you do here, is to keep erasing all the name.. except for the first part, and alittle bit more of the name visible each time, Placing the Quill right at the point where your pen would be, if you were writing this name yourself.
Just Continue to Make your way around the name, Taking your time around the curves, and also stopping to dip your quill once in awhile.. It took me 30 Frames all together to make this animation. So Don't be afraid to use alot of Frames. My Thought on it is.. that the more time you take to make this animation.. the more frames you use.. the more smoothly it will work.. :) Click Here to Learn How to Turn these frames into Animation
Copyright © 2000 by Heaven2388, all rights reserved
This site is sponsored and maintained in its entirety by Artists4psp Copyright © 1998-2001 by Artists4PSP, all rights reserved Artists4PSP Home Page | Join our Group | Contact: LdyArchrr
|


 1
1 2
2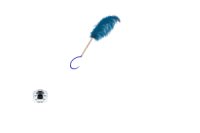 3
3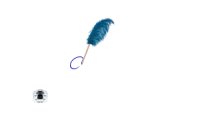 4
4