Spide's VM Page
Faster VM!
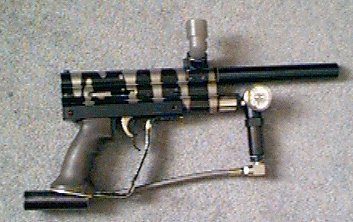
Ok, it doesn't look like much, but it sure can pump out those rounds!
I implore you not to do this one... I can be very easy to damage your
gun with this one...
Let a trained professional do this if u are inexperienced...
but if you are as stupid as I then allow me to lead the way...
Ok, it doesn't look like much, but it sure can pump out those rounds!
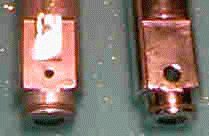
Ok, lets see the first thing I did. That was to replace the old upper bolt with a venturi bolt. This improved the eficeincy of the CO2 use. It also reduced ball breakage a little.
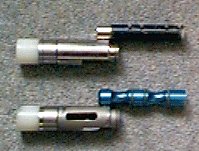
You may notice that the lower bolt has a rather large hole in the side of it. These were drilled all the way through and took quite a bit of the mass out of the lower bolt. Obviously once I drilled the holes it looked better with the holes filed out. It also takes more mass away.
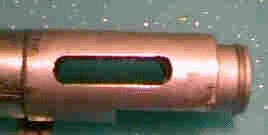
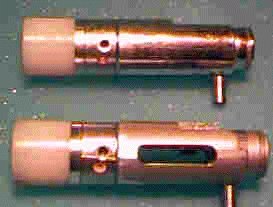
The next step was to carefully drill down from the top of the bolt. I made sure NOT to go right through the bolt! Stop once you get through to the other hole you drilled or the bolt will be useless
Once the bolt is like this (mine was now 27% lighter than when I started) it will fire at a much higher rate. I wanted more than this so I went looking for a way that would shorten the distance the trigger needed to be pulled before the bolt was released. I found it!
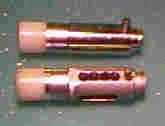
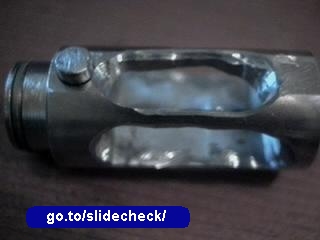
I made a small wedge and attached it to the lip that the trigger sear rests on.

The wedge is held in place with a small bolt that screws into a thread tapped into the wedge. The height of the wedge is low enough to allow the sear to still catch on the lip of the bolt, but reduces the distance required to disengage the bolt itself.

The last picture shows the extra hole required to hold the wedge in place.
Since the whole assembly moves constantly and sharply, it is a good idea to use something to stop the screw, that holds the wedge in place, from coming undone.
Return to the VM-68 Page
![]()
This Page and Images are Copyrighted by the Owner of the
Website...