Introduction to Part II
Welcome to the second part of my tutorial for modelling, Texturing and Animating a character using 3D Studio Max 3 and Character Studio 2. In the first part we modelled a human head using low poly techniques and NURMS. These same techniques can be used to model the rest of the body. In this tutorial we'll texture a full characters body created as a single mesh. That is, paint the illusion of texture (with a 2D picture) on our model to give it a high quality look.
You may be thinking "why bother with this?", well I say "the 3D mesh is merely a canvas in virtual 3D space, the real art is what you paint on the canvas, the texturing".
Good texturing can save a lot of time and resources in the production of high quality 3D character models. But it is the most difficult part of 3D modelling to master and is poorly documented. The following tutorial use a technique that allows for both accurate placement and efficient creation of very high quality texture maps.
A summary of this technique is as follows:
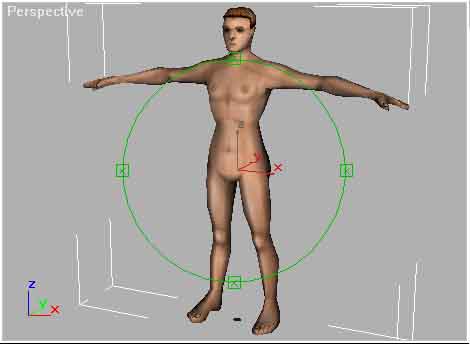
Firstly a "reference map" is placed on the character to help with applying Mapping coordinates. Mapping coordinates determine how the texture map fits to the model and applying them is one of the most challenging parts of character modelling but is also one of the most important.
Mapping coordinates are best applied to the model, before any painting is done. This way the coordinates can then be exported as a flat bitmap, designed to make painting of the texture easier using an ordinary 2D paint program like Photoshop or Paintshop Pro and even a 3D Paint program like Deep Paint 3D.
Once completed the painted texture is then brought back into 3DS Max with only minor adjustment needed to the mapping coordinates to get a very high quality look.