Multiple Block Printing
Compliments of Rusty Clark
Feel free to use these images and information on your
page or in classes!
Just mention Tabloid Trash. Thanks.
THANK YOU RUSTY!

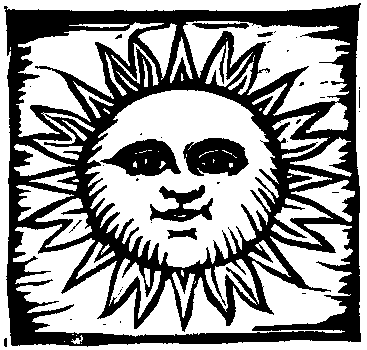
Step one - I carved this sunny face from a piece of commercial clipart. I knew that I would want to fill it with yellows/oranges/pinks so I decided that instead of stopping here I would carve a second stamp to print above or (my preference) beneath this stamp.

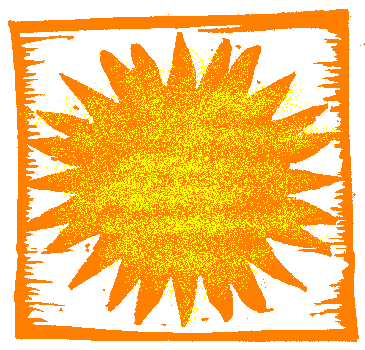
Step two - there are numerous ways to produce the filler or complementary stamp - my method in this case was to stamp the finished sun face carving onto wax paper (since the ink sits on top of the waxy finish and stays wet) and then press the image onto a second piece of PZKut. Usually I just transfer the initial piece of clipart to a second block but since I never seem to carve a perfect match - the wax paper gives me a clean and EXACT copy of the first carving. The wax paper is necessary because it reverses the image to the proper carving position. If I were to simply stamp the first stamp onto the PZKut - the image would be a reverse of the image I was trying to match. Got that? After it was transferred to the PZKut - I just carved loosely around the edges of the sun and the border.

Step three - stamp the background or filler stamp - then carefully stamp the sun face on top using the "eyeball" method of placement or a stamp positioner. This two stamp method works well for this image for two reasons - the black ink, unless embossed, makes a terrible mess of yellow/orange/pink markers used to color it in and because the border makes it pretty easy to place the second stamp into position. I just scrunch down next to the postcard I'm stamping and line up the bottom left corner and adjacent sides of the second carving with the first. Voila.
Visit Tabloid Trash at: http://pages.map.com/rclark/tabloid_trash/