
Assembly:
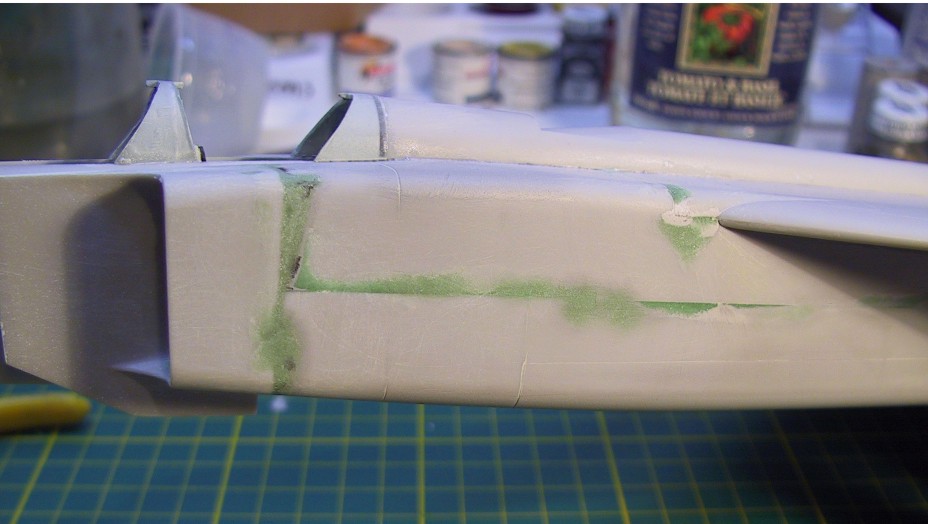
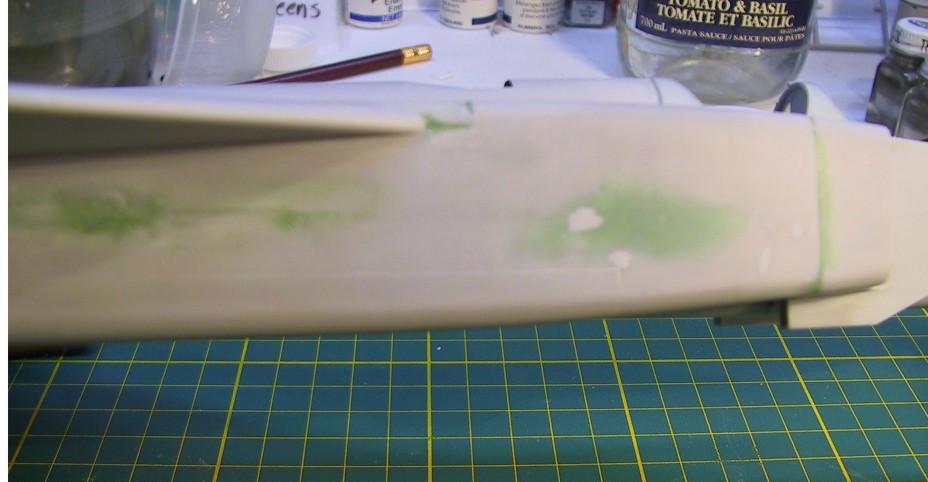
After the nose gear, I assembled the major airframe components. The fuselage is split into upper and lower halves, with a huge seam running on the sides in plain sight. This seam is a huge pain to touch up, believe me. I braced the fuselage extensively on the inside and used gap-filling CA glue in places along the seem, along with a lot of Tamiya cement. What followed was a long process of adding Squadron green putty, sanding, sanding some more, then adding another layer of putty and doing it all again.
Next, I added the completed nose section and wings. The wings were a bit fiddly to put on properly, and I ended up having to use a lot of CA again to hold it properly in place. The next step was to detail the very empty main gear wells. Armed with some vague reference photos, I made my "interpretation" of the gear wells out of lots of evergreen sheet. I plan to add some wiring after I paint it.
At this point, I ran into a problem. The nose weights had broken loose and were rolling around in the nose. While it wasn't a project-killing problem, it was still damn annoying I was going to do something about it. After consulting ARC, I ended up drilling a hole in the forward bulkhead of the gear well, and then injecting some white school glue into the cavity through a syringe to hopefully fix the weights in place. In the end it worked, but made a huge mess and took days to finally dry inside the model.
Nest task was to get to work on the main gears, which really lacked in detail and accuracy, especially when compared to the reasonably correct and detailed nose gear. I used evergreen tubing for the hydraulic arms and some other bits, evergreen sheet for other parts that I don't what they're called, and some copper wiring for the wiring along the gear. May not be perfect, but at least now it's a decent representation of how it should look. I also painted the tires and added the brakes on the main wheels. The hubs were Alclad II Aluminum, and the rubber was plain old Testor's flat black, which I may drybrush with RLM 66 to simulate wear on the treads.
Main gear are ready for the paint shop, and I'll use Alclad aluminum for the main body, with either Alclad polished aluminum or chrome for the oleos.
Next update will have whatever I work on next. Most likely it will be the engines (plan on doing some surgery there), canopies, vertical stabilizer, gear doors and final prep for painting (possibly not next update...)
Cheers for now.
HOME | BLOG | I CAN'T BELIEVE IT'S NOT UGANDA | BACON FORTRESS