waterglobe tutorial


WaterGlobe Tutorial

Using Paint Shop Pro 5


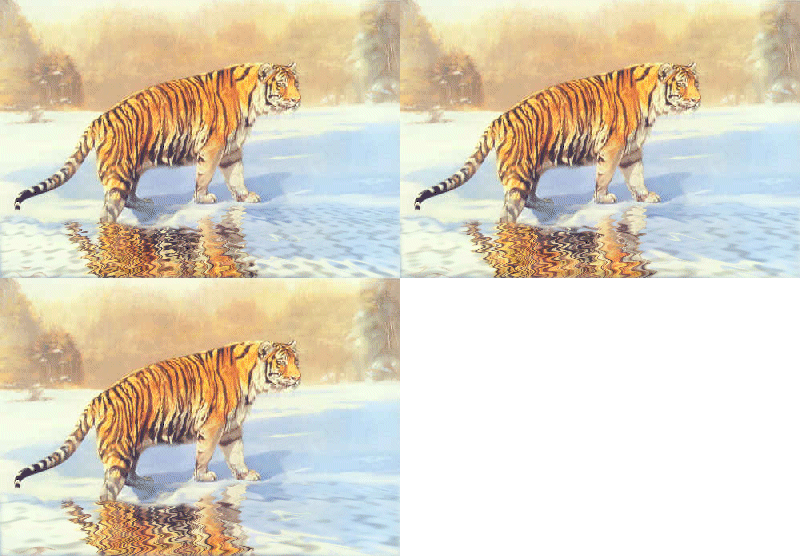
You will need the animated tiger image for this tutorial. And a stand alone globe. Which you can download at Kandy's Stand Alone Globes if you dont already have one.

Right click and save the tiger image


We will start in Animation Shop first.

Step 1. Open the animated tiger image. (TAtiger2.gif)

Step 2. There will be three image frames. Right click on each frame and "Save frame as". Name frames .... tiger1.psp....tiger2.psp....tiger3.psp.


Now open up Paint Shop Pro

Step 3. Open up your stand alone globe and each frame we have saved from Animation Shop (Tiger1,2,3)Go ahead and minimize the Tiger images.
Step 4. With globe open. Click EDIT/COPY or you can click this button on your tool bar.

Step 5. Now click EDIT/PASTE/AS NEW IMAGE. Do this 3 times or you can click this button 3 times on your tool bar.

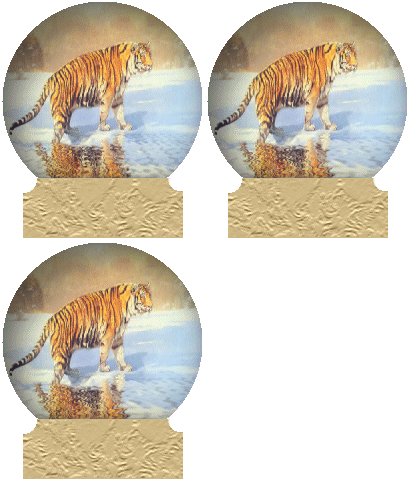
You should now have 3 globes open to work with. They should be named image1..image2..image3.

Go ahead and minimize image 2 and 3..

Step 6. Starting with the globe Image1, using your magic wand click on white part of the globe. Now you should see the marching ants moving only in the white.
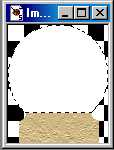

Step 7. Now bring up your Tiger1.psp image. Now click on EDIT/ then click COPY or click the button on toolbar. Now go ahead and minimize Tiger1 image.

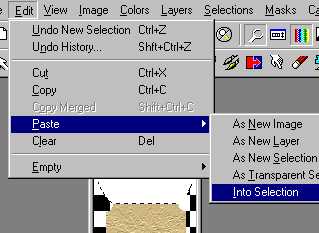
Step 8. Go back to your globe (make sure the ants are still moving around the white area of globe.. if not just use your magic want and select) Click on EDIT/PASTE/INTO SELECTION.
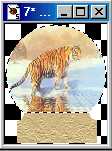
You should now see Tiger in your globe.


Step 9. Now click LAYERS/NEW/OK/. (note: marching ants should still be moving around globe) Now click IMAGE/EFFECTS/CUTOUT using these settings:

fill interior with color should be unchecked

shadow color=black

Opacity=40

Blur=50

Vertical and Horizontal=2

click OK

Step 10. Repeat Step 9 once more using same settings for cutout except for Vertical and Horizontal. Vertical=20 Horizontal=20. Click OK.

Step 11. You are now finished with the first globe. Just click SELECTIONS/SELECT NONE.. then Save as "tigerglobe1.psp"

Step 12. Now repeat steps 7 through 11. Only using "Tiger2.psp" image, and finished globe should be saved as "tigerglobe2.psp"

Step 13. Repeat steps 7 through 11. Only using "Tiger3.psp" image, and finished globe should be saved as "tigerglobe3.psp"

Now you should have all three globes saved and finally ready for Animation Shop.

Go to Animation Shop

Step 14. Open Animation Wizard. Do this by clicking File/Animation Wizard. Now a window will pop up and make sure these are checked:
Same Size as the first image, click Next

Transparent, click Next

Upper left corner of frame and With canvas color, click Next

Yes, repeat the animation indefinitely, click Next

Step 15. Click ADD IMAGE find tigerglobe1, highlight and double-click.

Step 16. Repeat Step 15 only find tigerglobe2

Step 17. Repeat Step 15 only find tigerglobe3

Step 18. Click NEXT then FINISH. HOORAY!!!
Save as GIF.

Now hopefully your globe looks similar to this one besides the look of your base.


*For more Animated pictures to work with go to my water animation page.*

clickWater Animations

Or you can make your own water animated pictures now using my tutorial.Water Animation Tutorial

Click here to go to my other pages.


Paint Shop Pro Tutorial Links


this page has been visited times.