Well, I made a little how-to use the surfaceLuminance node to clamp the intensity of a light. Here I'll teach you a little but so useful trick to clamp the density of your shadows received by an object.
In fact, I asked Tom Kluskens if it was possible to clamp the density of shadows to avoid a total black, when multiple shadows fall at the same location, they get accumulated and it gives a total black, unacceptable for a good rendering. The answer was no. Too difficult if not impossible!!
I already hear some of you saying that I just have to set a grey shadowColor or just increase the ambient attribute of the material. Ok it works too!! (of course) But if you modify the shadowColor, ALL your shadows will be modified, and if you modify the ambient of your material, you'll have to modify or your shader or your lighting.
In this case I only affect a shadowed area of an object. In the absolute, you can use this trick to simulate an object which casts shadows but which doesn't receive any.
I'm using another method which works just great, and helps a lot. The lightFractionShadow (see another tip on this node) is a common attribute of any light sources in maya. This attribute is really powerful. It allows the user to modify the area of an object which receives a shadow.
The little scene I made to show you is very simple. I have created 6 spots aiming a sphere which lies on the plane ground. The 6 spots cast dmap shadows (shadowColor at 0 0 0) The ground is a simple lambert mapped in color with a 2d fractal texture.
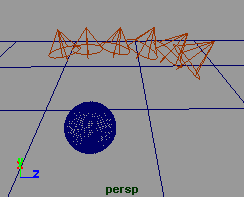
If we render this scene, we get something close to that:
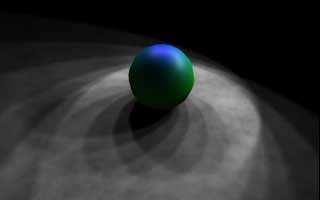
|
Here
is the normal render
|
And
this is the over-gammated image to show you what we absolutely want
to correct: the black area (where there's shadow accumulation)
|
Ok, now the theory is set, let's see if the practice works!!
Here below is the hypershade which shows the shader network to clamp the density of the shadows.
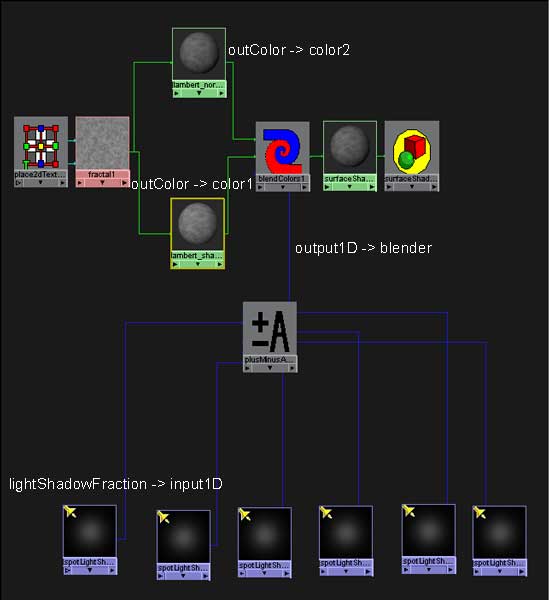
First
of all, select all your light's shapes, create a surface shader,
a blendColor and a plusMinusAverage node.
Now connect all light's lightShadowFraction attribute (under the
dimmed LightData) to the input1D of the PlusMinusAverage (for multiple
adds, right-click on Input1D and select Connect next available)
and so on.
Once
this done, select the PMA, and set the operator to Average. Then
connect the output1D to the blender attribute of the blendColor.
Connect
the outColor of your ground's material (here the lambert) to the
color2 of the blendColor. Duplicate the lambert shader and connect
the outColor to the color1 of the blendColor.
Remember: the outColor of the shader which modifies the shadow density
must be connected to the color1.
You just have now to connect the output of the blendColor to the outColor of the surface shader, and assign it to the ground.
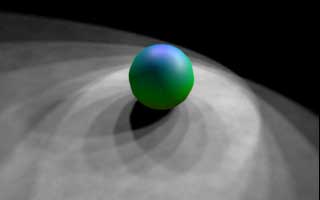
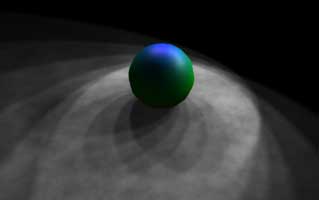
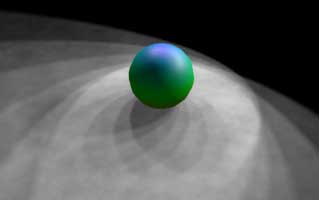
Now, if you render once again the same image, you'll still have the black intersection of all your shadows. Ok, select the lambert connect to the color1 of the blendColor (let's call it shadow_density), and the value of the ambient attribute at .25 (for example); if you render the image now, you'll have something like this.
|
Normal
render
|
gammated
image
|
You can see now the total black areas are gone, the intersection of the shadows has some matter and not a black unique color, the trick works fine.
It's finished, and I hope this will help you to make more incredible images... :-)