|
| |
Exercise 1
- Using the database Properties you created in Unit 2 in the DPS
folder. Create a new form, do not attach a database to it.
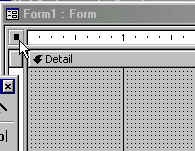
- Click in the form button in the upper left corner and open the property form if it is
not visible.

- Change the Caption of the form to display, Property Changes
- Turn Record Selectors, Navigation Buttons and Dividing Lines to No
- Turn Auto Centre to Yes.
- Change the Width to 5.5 inches.
- Change Scroll Bars to none
- Save the form with the Name of Unit2Lesson2. (Stay in the
form)
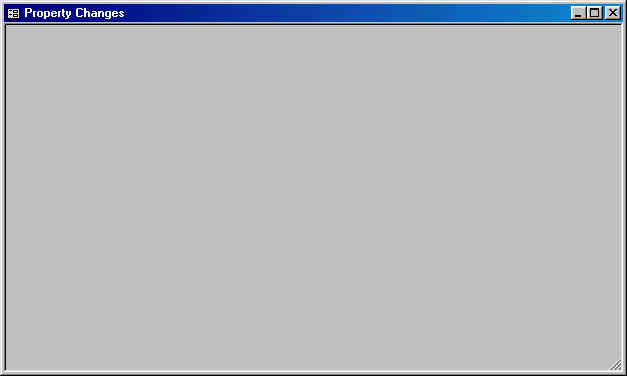
- Display the form by clicking on
 . It should look like the example below: . It should look like the example below:

- Get back to design mode by clicking on

- Click on the grey grid part of the form, it is known as the Detail of the form.
You should notice that the caption on the Property Window has changed to: Section:Detail
- Change the Height property to 2 inches.
- Change the Back color to any colour you want.
- Display the form to see your changes
- Save your form so you do not lose any work.
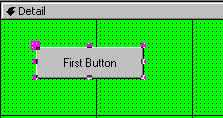
- Add a Command Button to the upper left corner of your form. Change the Name
property to cmdFirst. Change the Caption property to display First
Button as shown below:

- Change the Left, Top and Height property to 0.3
inches.
- Change the Width property to 1 inch.
- Change the Fore Color to any color other than grey.
- Change the Font Name to Tahoma and the Font size to 10
- Change the ControlTip Text to This is my First Button
- Save your form, then view it. Position the cursor over the button to see the Tip Text.
- To the right of the button add a Textbox control
- Change the Name property to txtFirst
- Change the Status Bar Text to read Enter Your Name
- Change the Left, Top and Height property to 0.3
inches.
- Change the Width property to 1 inch.
- Change the Label control that is created with text control to read, Name:
and position it just to the right of the text box.
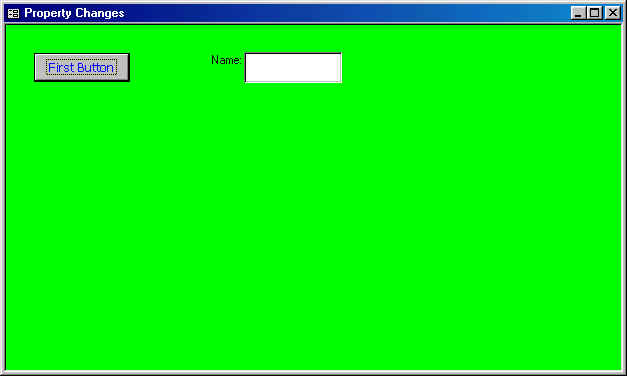
- Save your form, then view it. At this point you should have something similar to this
except different colours.

Exercise 2
Create a new Form, save it with the name Lesson2Ex2
- Place CHECKING ACCOUNT in the title bar of the form
- Create a text box with a yellow back ground
- Create a command button with the caption containing the word PUSH. The
colour of the letters should be green. The text should be Bold and Italic.
- Create a label containing the word ALIAS. The letters should be a white
colour and the background should be blue. Make the border 3pt in size and
be Red.
- Save the form for the last time.
|