|
..
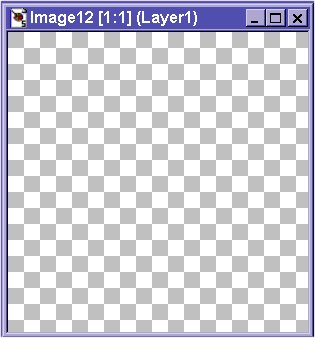
This is part 1 of 2 . I have had many people ask me how I made these so I thought I would share it with the whole list. Here is a tutorial I made for making different shaped frames to add around a pic. . 1. Open up a "New Image"......size 300 x 300.
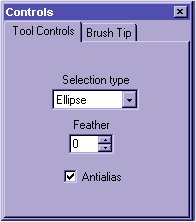
. 2. Using the "Flood Fill" tool . 3. Now select the "Selection" tool then click on the "Toggle Control Palette This box will open up:
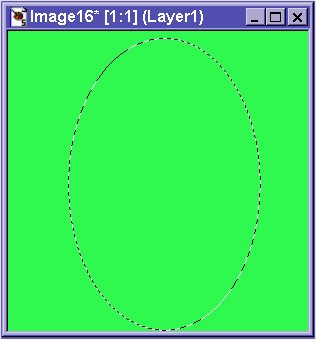
In the Toggle Control Palette box, click on the arrow below "Selection Type" and select "Ellipse" . 4. While holding down on your left mouse button, select a area of the image.
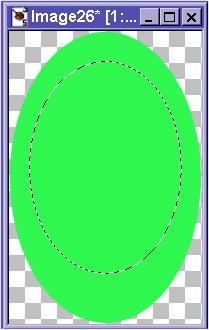
. 5. Click on "Edit"........."Paste As New Image" . 6. Next, doing the same as above, select a area in the "Newest Image" inside of the colored area
. 7. Now, click on "Edit" ........"Cut" . 8. Click on "Selections"........"Select None" . 9. Now, click on the "Magic Wand" Here is where you can add filters to it. What I used here is "Unlead Web Plugins............Button Designer-Any Shape"
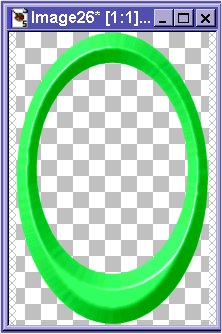
. Here is the finished frame
. This is part 1. Part 2 explains how to add the frame to a pic
Copyright � 2000 by JJWa1, all rights reserved
This site is sponsored and maintained in its entirety by Artists4psp Copyright � 1998-2001 by Artists4PSP, all rights reserved Artists4PSP Home Page | Join our Group | Contact: LdyArchrr
|

