|
..
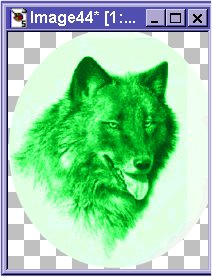
This is part 2 of 2 How to add the frame to a pic Click here for: Part 1 . 1. Open up a pic..........try to size it where the main part of the pic will fit into the frame. Then, using the "Selection" tool
. 2. Click on "Edit"........"Paste As New Image" . 3. Why I made a green frame and used a wolf I have no
idea, lol, but I thought a green wolf would look better inside the
frame. To change the color of the wolf, click on the "Retouch"
tool
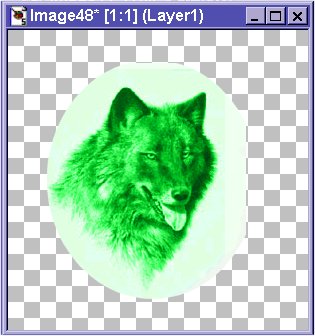
. 4. Next, open up a "New Image" .......size 300 x 300. Copy and Paste the pic to the center of the "New Image"
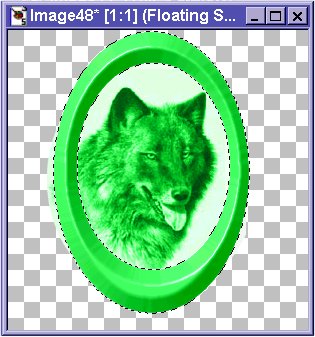
. 5. Now, copy and paste the frame on the New Image with the pic.
. 6. Click on "Selections" ........ "Select None" . 7. If there are parts of the pic "hanging"
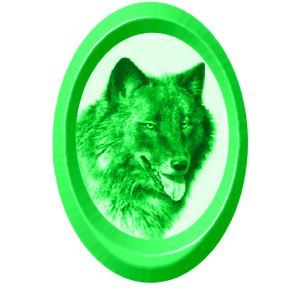
around the outside of the frame, use the "Magic Wand" tool . Here is the finished tag.
Copyright � 2000 by JJWa1, all rights reserved
This site is sponsored and maintained in its entirety by Artists4psp Copyright � 1998-2001 by Artists4PSP, all rights reserved Artists4PSP Home Page | Join our Group | Contact: LdyArchrr
|


