A great site with FAQ's, Photos and more. Details,details and more details. Lots of info here. Cheap long distance rates! Starting at 3.9¢ per minute. follow me toll free service. A toll free number that you can move from phone to phone!
Now the shell is ready to come apart. Gently seperate it. Again be careful for the plastic tabs
and don't pull it too far after, there are cables attached to it. This is what you should now see.
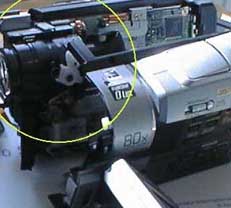
The white plastic is the IR blocking filter cam and below it is the Micro Switch. Here is a
close-up.
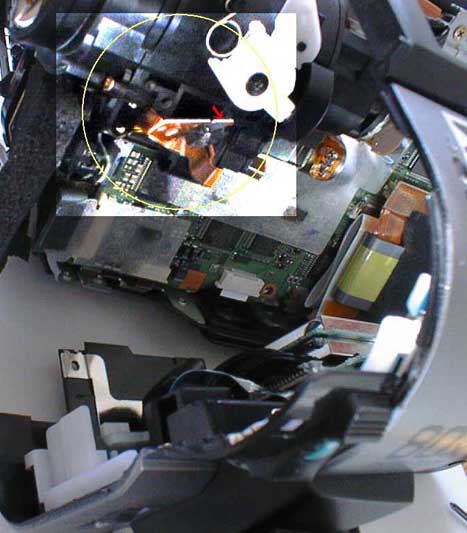
The red arow points to the switch it self.The switch is screwed to the body and is pulled away
in this photo. I then took a Dremel tool and sanded the tit off of the switch. Use what you
have around the house for tools to do this. I thought this would be easier than taking more
of the cam appart to unplug it if it were a plug.
After sanding down the tit, verify that the cam won't engage it and reassemble the cam.
Another user of this trick just moved the switch out of the way
without trimming it. The space is tight but it avoids perminant
effects. Just be carefull reassembling the cam.
Now you can enjoy full exposure controle of the cam while in NS mode. The draw backs are no more
IR light on the front of the cam and the Hot shoe activation of a bought IR light. I can live
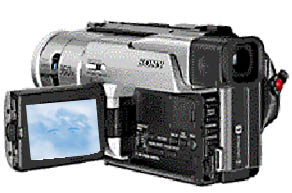
with this, you descide for your self. Also Don't let the wife see you dismantling the new $800
cam, she might just kill ya!.......MC_E
back
The DogPound
The Infrared X-Ray Guide
Talk for less now!
International locations too!