Before we do any more, we must collapse the stack!, to an "Editable Mesh". Now when you go Sub-Object Face again, all your previously selected faces, will still be selected. Great stuff!, now go to the Edit menu and choose "Select Invert", this will select all the faces on the back of our model. By doing a select invert, you're not only saving time but also ensuring you don't miss out any faces. You don't want rogue faces, without mapping coordinates, they're a waste of time and energy.
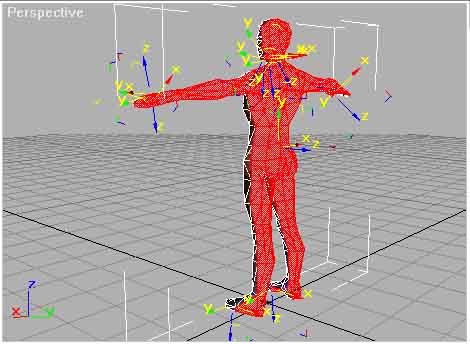
Apply a UVW Map Modifier as before but this time, scale and move so the selected faces are at the bottom right hand corner of the map, so they don't over lap with the front faces.
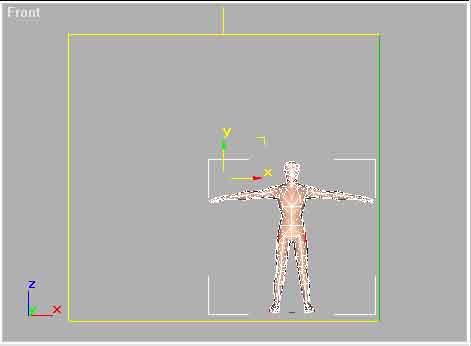
Note: we're still viewing from the front, even though it is the back faces that have been selected, this is because we're just applying basic coordinates for now, more accurate placement will be later on.
Now collapse that stack again and we can check our progress so far. To see all the mapping coordinates, use the "Unwrap UVW" modifier. With Sub-Object off, apply the "Unwrap UVW" modifier from the modifier panel. Within this press the "Edit" button. The following dialog will appear:
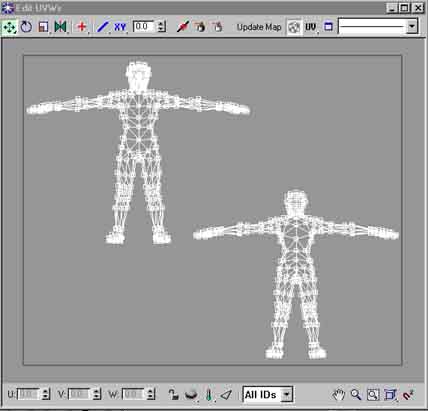
Here we can see the mapping coordinates for the front and back of our full body character model. With no rogue faces (which appear as lines going off in odd directions or vertices bunched up in one corner). You can see how each face is placed in the map so far. If we wanted, we could just use these coordinates as they are. But it wouldn't be very effective use of map space and anything near the side will be stretched, because all the coordinates are jammed together. We could just move the jammed up coordinates apart here, but they're pretty difficult to work with like this and you'd end up with an awkward seam running all around the model where the front and back join.