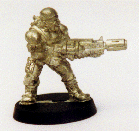
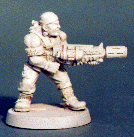
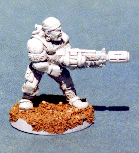
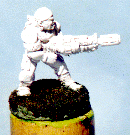
 |
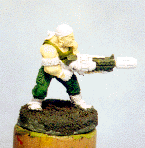
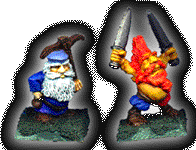
Steps 1 thru 4, see above Step 5: Begin adding base colors
Begin painting the miniatures in basic colors.
Paint skin with a flesh color. Paint clothes in basic colors as well (red and blue were
used here.) The leather belts, shoes, and wooded weapons were painted brown. |
 |
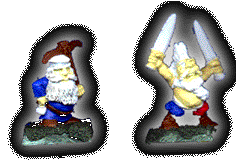
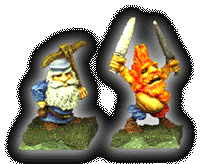
Step 6: Complete base colors Carefully finish painting the miniatures
in basic colors. Correct any mistakes now.
Paint hair a dark color (I used orange and grey here). Metal weapons are painted black
(silver will be added later). |
|
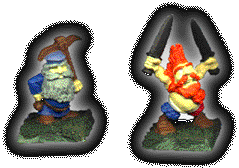
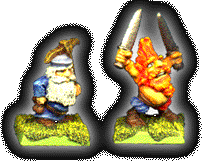
Step 7: Add shadows Add shadows to everything by adding darker washes
or inks. The goal is to get the darker colors to go into the folds and crevices, without
adding too much color to the raised areas. Washes are just paint thinned with water.
Washes are easier to use, but inks give a better result.
A light brown wash was added over the flesh. Blue ink was added over the blue clothes,
brown ink over the brown, red ink over the red clothes and orange hair. I dry brushed Gun Metal over the black weapons. |
|
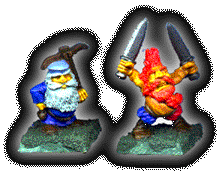
Step 8: Add Highlights Begin adding highlights to each area.
Highlights can be added either by dry brushing or
carefully painting them onto the raised areas. The goal of highlights is to bring out the
detail. Begin by using the basic colors from step 6 for the first set of highlights. Later
highlights will use lighter colors, bringing out more detail. |
|
Step 9: Complete Highlights Complete the highlights by adding even
lighter shades of the base colors to each area. Also complete any small details, such as
belt buckles (painted gold) and eyes (painted black now, to be finished later).
I've used orange to highlight the red, yellow on the orange beard, and light blues on
the hat and clothes. |
|
Step 10: Finishing Touches Finish the miniature. Paint the blackened
eyes white, leaving a thin black line around the white. When the white dries, add a small
black dot for the pupil. Touch up the dark green base, then dry brush with light green
(goblin green) followed by yellow.
Add protective finishes to minis. |