Please, see the Terms of Usage on the Sets page for use of graphics.

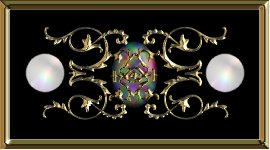
Opals Tutorial 101


Step 1
|
Open a new image which is 100 x 100 pixels with a black background. | |
| Step 2 | With the selection tool set to ellipse and anti-alias, draw an ellipse which fills most of the frame. | |
| Step 3
|
Add 100% uniform noise to the ellipse. Do this again to get more. |
|
| Step 4 | Under Image-Other, go to Mosaic. Set the block width and height to 4. | 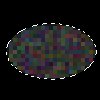 |
| Step 5
|
Go to Colors-Adjust and pull up the Hue/Saturation/Lightness adjustment. I left the hue alone and pushed the Saturation and Lightness to +100%. You can play around with this for different effects. | 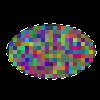 |
| Step 6 | Now go to Gaussian Blur under the Image menu with a radius of about 2.0. This may sound strange, but I then did a Sharpen filter. | 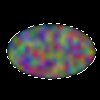 |
| Step 7
|
At this point, its time to get a bit more "dimensionality" to the opal. You can do this with the cutout filter. Use a black shadow with opacity around 60 and don't fill with a color. Make the blur around 18 and the offset -3, -3. (Play around with all of this.) | |
| Step 8 | Add a new layer, but keep the ellipse selected. In the upper left, spray on a white arc. Turnoff the visibility of the background layer. Use Gaussian blur just on this layer and set the radius to 1.5. Now, reduce the layer opacity to about 40. | 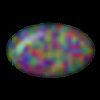 |
| Notes
|
|
 This is just "Opals 101". I've been doing some
interesting things with Blade Pro presets to get opals, but they aren't quite there yet.


 Any comments are appreciated. Contact me via e-mail.


