
All other photos © 2003 John Gosselin
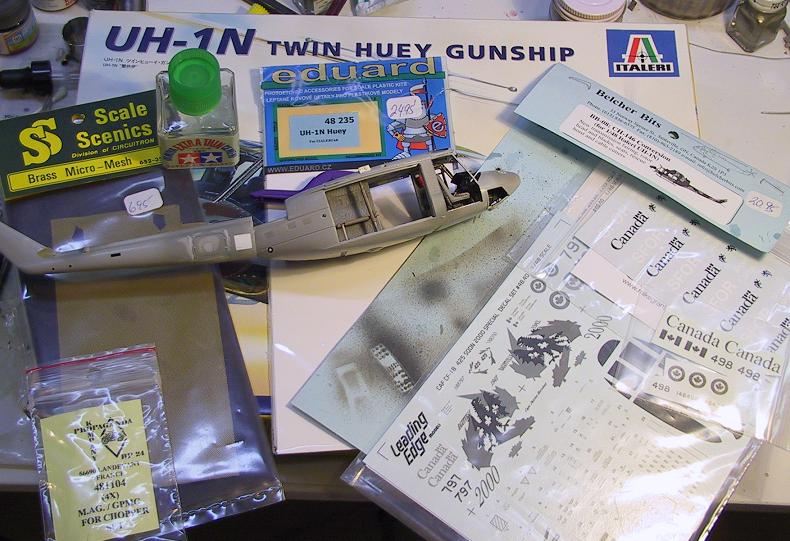
Kits Used:
Decals:
Extras:
Assembly:
I started first with the cabin floor. I sanded of some of the exaggerated texture and then added the photo-etched tie down loops. Next I began work on the panel and consoles. The Italeri kit's cockpit detail is dismal, so I sanded the center console flat and made my own detail from reference pictures. You can see some of it in this photo:
Also of note in that shot is the extra structure inside the cabin walls (the part with the three big holes in it). The kit didn't have this at all, so I improvised. The Eduard set had the parts to do this, and I used the sides of them, but elected to make my own "face" for them out of styrene sheet. I drilled the three big holes (one hole on the other side) and made the rivets by drilling from the other side but not poking through, thus creating tiny little domes for rivets. These little "domes" are fragile and will collapse easily if any pressure is applied to them, so be sure to fill them with CA glue to harden them. The picture was just a dry-fitting.
My next task was to make the actual instrument panel. Again, the Italeri kit part was absolute crap, so I used the Eduard part. I laid the PE panel on a styrene backing, and was now faced with the task of finding a way to make those little round positionable air vents found in most aircraft. I needed to make twelve of them. I finally found my solution: The unused Twin Huey weaponry had some rocket launchers, and the tips of the rockets had a nice rounded end. Best of all, there were plenty of them!
The shade over the panel is made from styrene sheet.
The cabin interior is a light gray, so I used MM Neutral Gray (FS numbers aren't my forte). For highlights, I did a dark gray sludge wash (with artist's acrylics) and then drybrushed with RLM 76 Lichtblau. The cockpit is all black, and I drybrushed liberally with RLM 66, and picked out the details with RLM 76 in some spots and MM Flanker Pale Blue in others.
Also visible in this photo is the extra structural ...stuff... that I added to the overhead console of the cockpit. Somewhat visible on the far side of the console is the rotor brake handle that I made from styrene tube and sheet. I also added strip styrene bracing and two of those little air vents on each side.
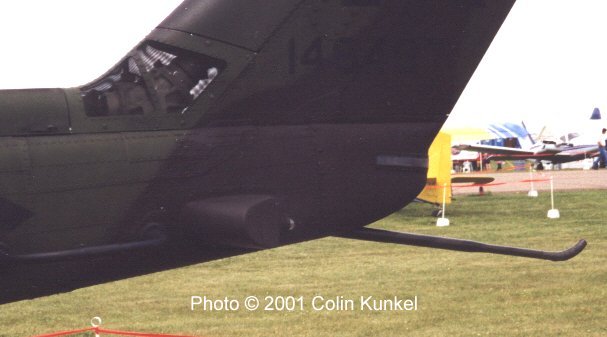
Before I could close the fuselage halves, I needed to figure something out. On the real Griffon's tail boom, at the base of the vertical stabilizer, there's a large mesh panel over the tail rotor drive shaft.
 (photo from the ARC walkarounds page, taken by Colin Kunkel)
This was a real headache for me, but I ended up figuring out what to do.
HOME | BLOG | I CAN'T BELIEVE IT'S NOT UGANDA | BACON FORTRESS