ENGINE MOUNTING BRACKETS
Here is a couple of dimensions and measurements of the brackets, and a description of how it was made:
Left engine mounting bracket
I mounted the bracket on the front of the engine where the AC compressor used to be. That way there wasn't any need to make major alterations and the bracket was just made to fit the new (Heavy duty) mountings. My brother-in-law (Gideon) helped me make these brackets. I used angle iron (5mmX70mmX70mm) with a support welded between the two holes that will attach the bracket to the engine. The angle iron had to be bent beyond the 90 degree angle (approx. 75 degrees) to ensure that the angle to the mounting is correct and I had to weld an additional "lip" on the angle iron as it was slightly too short.. That was it! Just grinded of the sharp edges, mounted the new mounting on its place on the chassis and then to the home made bracket on the engine.
Right hand bracket.
This bracket was a bit more involved as the RD28 doesn't have holes at the front of the engine. I used existing holes more or less in the middle of the engine. (Don't know the original purpose of those holes.) I took a piece of angle iron, cut of one side about 70mm so that I can bolt the flat side on the existing mounting point on the chassis, that way if the bracket bends the angle at the bottom will press against the bottom of the mounting point and thus prevent sagging of the bracket.. The bracket extended now to the back of the engine. . I drilled a hole in the center, took another piece of angle iron, drilled the appropriate holes to secure it to the engine. I had to weld a small extension on the engine mounted bracket slightly pointing upwards, again to align the chassis bracket with the engine bracket. A cross section was again welded on the angle iron to prevent the "spring" effect.
Here is a diagram of the mounting brackets.
Here is a picture of Gideon busy grinding the bracket on a bench grinder. See all the bolts that I purchased?


On the left you can see the left engine mounting bracket. Between the two bolts the additional "support" were welded in to negate the "spring" effect of the angle iron.
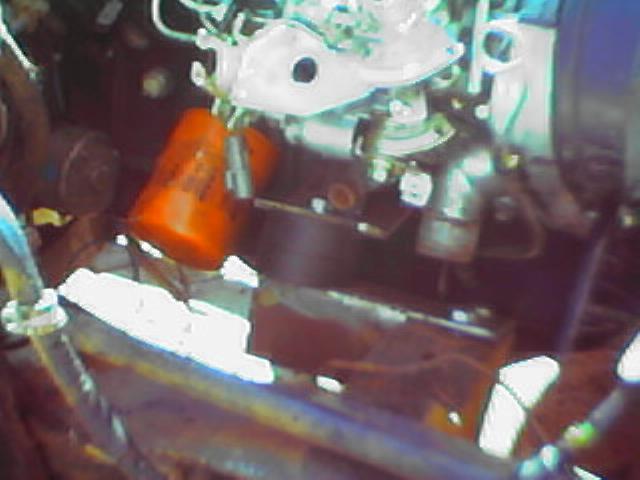
On the right you can see the right engine mounting bracket. Just below the water pipe you can see the extension from the existing mount on the chassis going to the rear of the engine, on which came the engine mounting. The bracket attached to the engine also has the additional "support" welded between the two bolts securing it to the engine. (Not very clear in this picture.)