Fuel tank

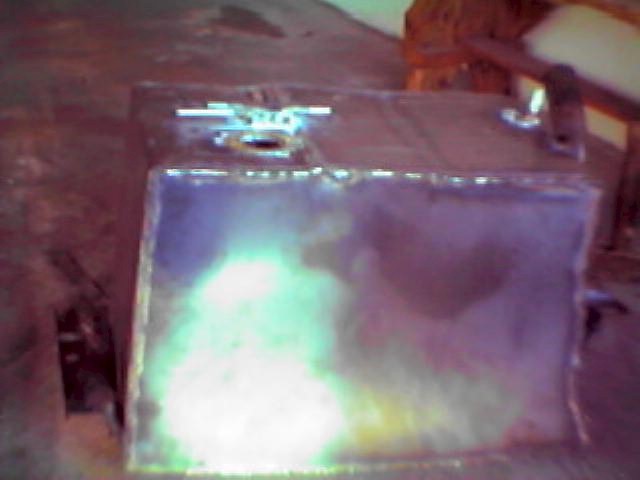
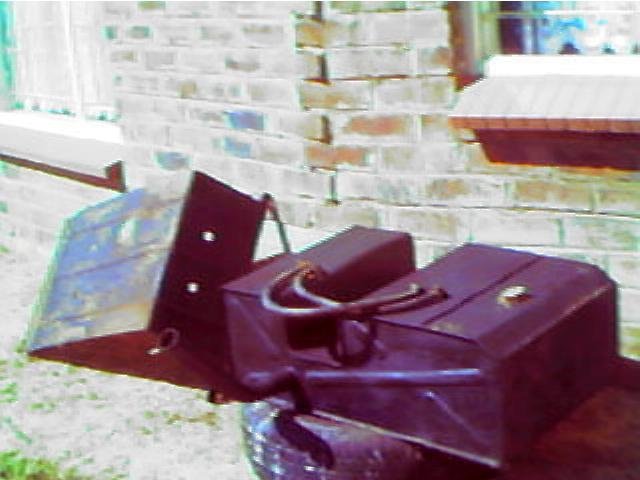
On the left the tank before repairs. The fuel tank was leaking, not a lot but surely enough to increase the fuel consumption figures. (was this a very expensive exercise to reduce fuel consumption?) I guess I won't ever be able to answer that question as the amount of work thus far will prevent me from reverting back to the original just for comparison sake. I will however revert back if the conversion is not successful or the diesel engine blows. Above is a picture of the repaired fuel tank and after it was painted in black. The cover on the left just before I painted it. See the highlighted areas where the mud has taken the paint off.
I also bought a side fuel tank with a 54 liter capacity, I thought of having two fuel gauges and a valve system to switch from one tank to the other. At the end I decided against it as the fuel line can be prone to airlocks. I have subsequently installed a fuel pump to pump the fuel from the side tank to rear tank and to only have one tank supplying the fuel to the diesel pump. I did however retain the fuel level float in the tank and it is routed through a toggle switch to the gauge. Now all I need to do if the rear fuel gets low is activate the electric fuel pump, also with a toggle switch, switch over the fuel gauge to the side tank and wait till she shows empty. I can then switch of the fuel pump, switch the gauge back to the rear tank and hopefully it will read close on 3/4 full. (The rear tank capacity is 67 liters.)
I bought a 85 liter galvanized fuel tank since the conversion (which turned out to be about 76 liters) and I replaced the side tank with a ?? liter (1.5mm walls) tank. The side tank I made from 1.5mm sheet metal. This is how I went about doing it:
Bought sheet metal 1.5mm thick from the local metal supplier. Asked them to cut it in the following sizes:
1 of 330mm X 1 800mm and 2 of 400mm X 850mm for the sides. I asked them to bend the long one with the bottom section 780mm long and the two sides 380mm up. Before I welded the top over lapping sections together I custom fitted and bend the sides to fit in the section under the drivers side of the vehicle with approximately 3mm space between all sides. As you can see from the photo's it has a very strange "toe" on rear side of the tank. The reason for that is that the upper portion of the space on the side of the vehicle is narrower than the bottom of the opening and to optimize the space available I opted for the "toe" rather than a gradual gradient to the top as per the original fuel tanks.
I then went ahead and welded the top overlapping sections together using a normal arc welder. I placed the tank on its side on top of one of the "side" pieces and welded 10mm section approximately 20mm apart all around the tank. By doing that I tried to avoid distortion of the metal. After going around and cleaning of all the flux I threw a solid weld around, grinded the extending bits smooth and welded again all around, this time putting the weld around the edge as well. This made for a thorough seal, I did the same with the other side, drilled the holes for the filler neck, fuel gauge sender unit, Drain plug, breather pipe, feeder/out, return/in and back tank to front tank connection. This time I brazed the pieces of 8mm steel pipes in the holes.
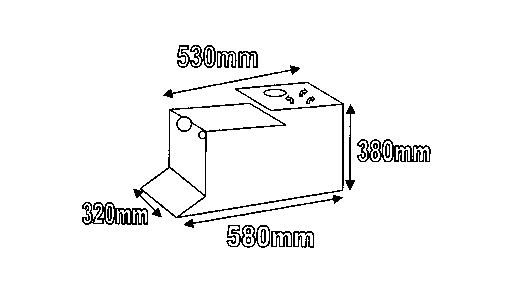
Here is a diagram of the tank.
And here are some pictures:
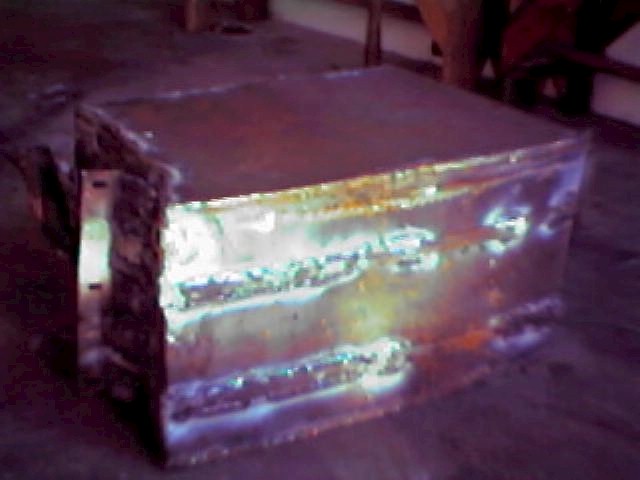
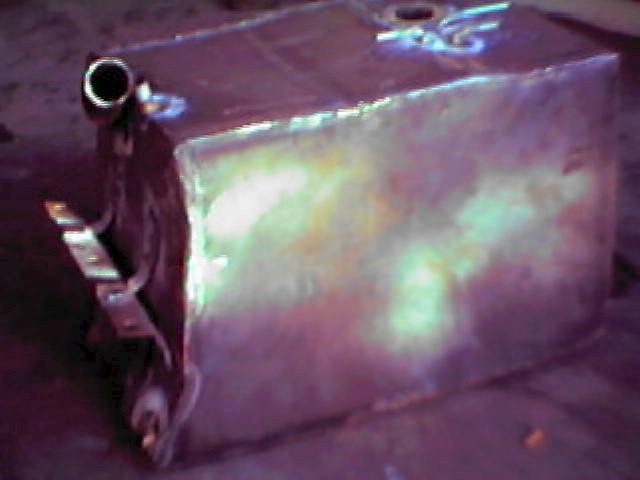
On the left you can see the underside of the tank and the "ribs" I welded on. That is purely for protection purposes. On the right is a sideview of the tank and you can see the strengthening on the bracket. The picture below is another sideview showing clearly the "toe" at the bottom of the tank.
