|
Installing your downloaded ICQ Plus Skinz Courtesy of CS Designs
|
|
| This tutorial consists
of 4 pages
Page 1 Installing your downloaded Skinz (this page) Page 2 Creating your own Skinz themes Page 3 Exporting your skinz Installing skinz
downloaded from the web or even creating your own is quite simple. Once
you have installed ICQ Plus
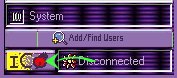
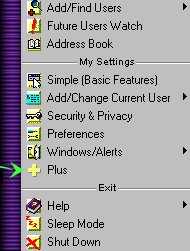
, go to the ICQ menu and click on the button, next to the online status. |
 . . |
| Before getting in to the main portion of this tutorial, I would like to explain that we will be working on configuring both the ICQ console and it's components as well as that of ICQ Plus. | |
|
Installing Downloaded Skinz. |
|
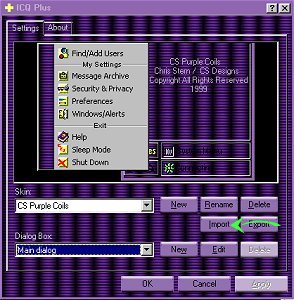 |
To install a
new skin, begin with When you click on this button you will be presented with a window that will allow you to search your hard drive for the skinz file you wish to install. Though in most cases the file will be in a Zip format, there is no need to unzip the file yourself as ICQ plus does this for you automatically. It will also create a separate directory for your skinz and place all the needed files in this directory. Once the name of your new skinz appears in the ICQ Plus menu, hit the apply button to apply this skinz to all the options of ICQ and ICQ Plus. |
|
Back
to Menu
NEXT PAGE
Any inquiries
or comments about this page can be sent to:E-Mail
|
|