O'Connor Family Page | home
O'Connor Family Page | About Us | Family History | Genealogy | Model Aircraft | Title 42 | Piano Wire Gauge Conversions | Photo's at Beaulieu | My Models | Hints & Tips | Canopy | Beaulieu Maps | Model Design Etc | Engine Size conversion | Links | Displays & Events | Rules | Specs Appeal | Shadows Backing Tracks | Family Matters | Family At Sea
Canopy
by Steve Bage
Many thanks to Steve for sending me this alternative method to mould your own cockpit canopies. Why not give it a try?
I donít much like the traditional Ďplungeí canopy forming method. I never have enough hands to hold all the bits and results were erratic at best. I therefore came up with a tool based on a cheap sealant gun which makes the whole process easier, quicker and produces far more consistent canopies. The design Iím using is a bit rough around the edges and Iím sure could be refined in many ways. What you see here was made up from scrap I had laying about in the garage and has been chopped and changed over the years to produce anything from ¼ scale canopies for large R/C models to my current small scale free flight jets.
Here is a pictorial walk through:
Take a metal framed sealant gun. Cut off the frame about 25mm away from the handle. Bend the remaining 25mm of frame 90 degrees and drill holes for mounting screws. Find a piece of 6mm ply approx 225mm long x 110mm across, with a slot cut wide enough for the plunger rod on the gun. Mount the ply plate to the gun with a couple of wood screws or bolts:

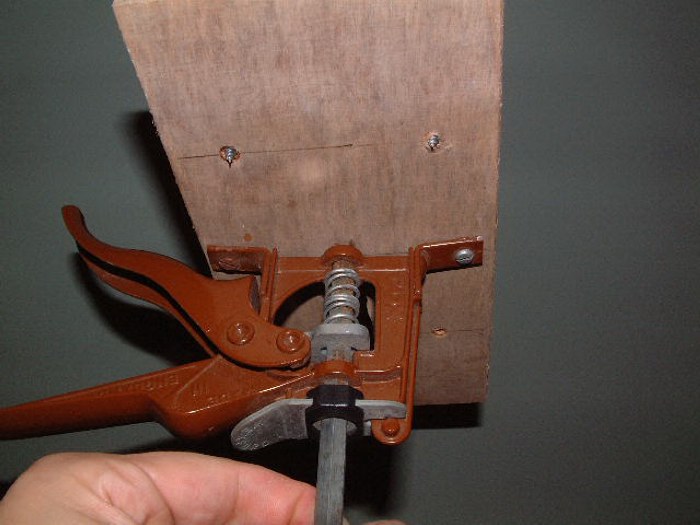
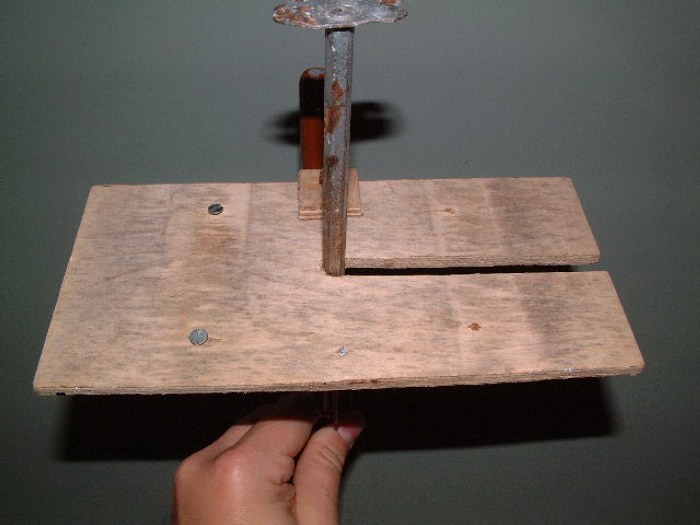
Cut the plunger end to about 15mm wide and drill a couple of holes... no need to be neat as you can see by my effort! The long direction of the newly formed bracket should be alligned with the long direction of the ply plate.
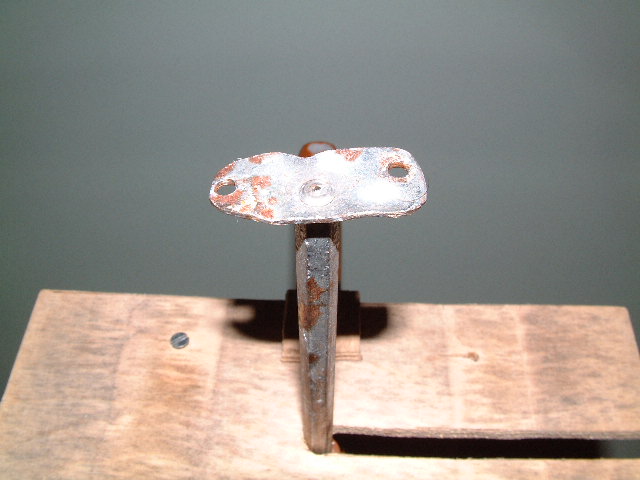
That is the tool finished... How easy was that! Now to form a canopy:
Mount your canopy plug on the plunger with a couple of small wood screws. This is a plug for my Blohm and Voss BV P.215:

Find some acetate and cut out a piece long enough to wrap around the canopy with a bit to spare and with a width equal to the canopy length plus 25mm minimum. Cut a notch about 25mm long in one end (The material I'm using here for the demo is a 'reject', which has glue all over it)

Wrap the acetate around the canopy. The notch goes over the plunger rod and use a stapler to join the overlapping ends:

Pass a couple of lengths of piano wire though the loop of acetate either side of the plunger rod:
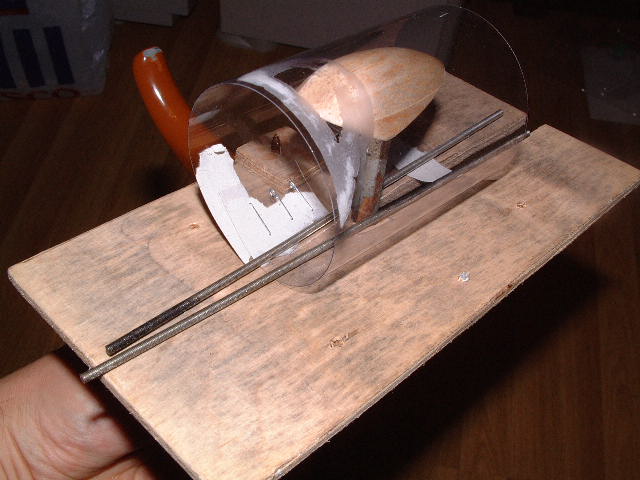
And hold down the ends of the wires with duct tape or similar (Iím sure there is a more elegant solution to this part but duct tape works!):

Pump the sealant gun until the canopy pushes up against the acetate:

Apply heat with a hot air paint stripper while using the sealant gun to force the plug into the acetate:
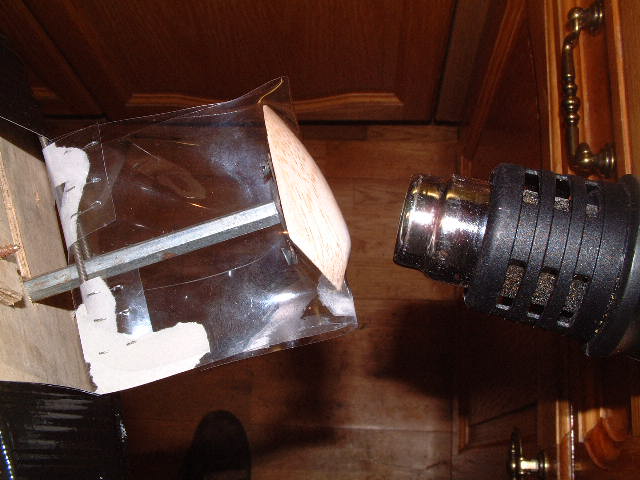
You should soon have something that looks like this:
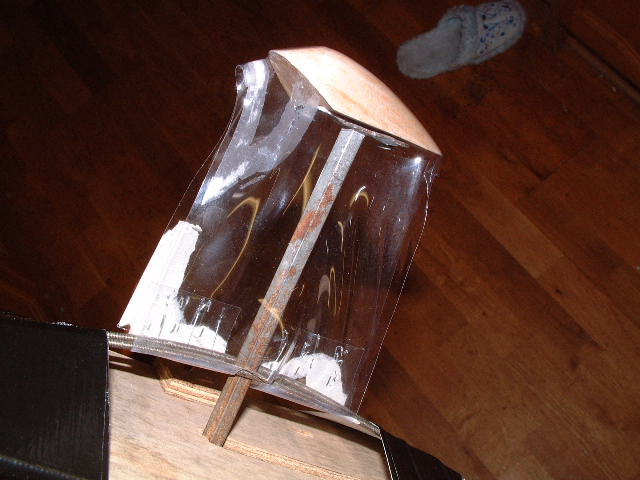
Cut either side of the acetate and remove from the plug... there you have it
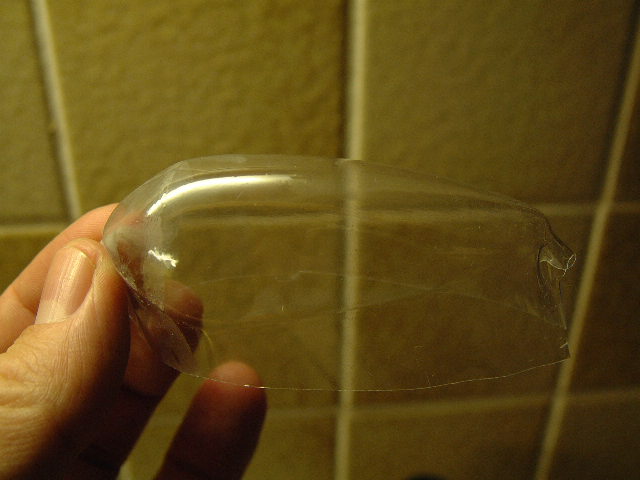
Here is one I made earlier:
