Create another layer between the reference and Paint layers. Call this "Base" and use this to paint in some base colour as follows:
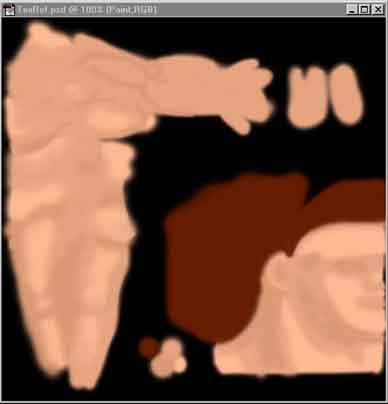
In the above, the "Paint" layer is turn off, so it can't be seen. Turning it on is useful for referencing, if you want to add some base shade colour. Because you can then paint underneath it.
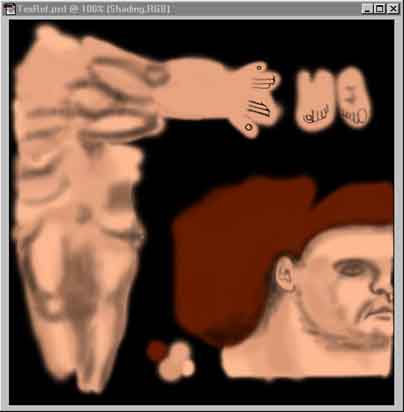
The above is the Base and Paint layers seen together. Use the Paint layer to add detail. You can use what ever colours you like including white with a low opacity to give highlights.
By turning the Base layer off you get to see the background reference and check how your painted details line up. It also helps to regularly check your texture in 3DS Max to see how things line up and get those seams to match up nicely.
You should end up with something like this:

Another little tip is if you have a problem matching a seam, copy the area of the texture, where one half of the seam lies and paste it in where the other half is. Check it in 3DS Max and rotate or mirror the pasted selection, then check it again, until the seam cannot be seen on the model.
For the texture above a plugin filter called Eye candy Fur was used as a base for the hair. Eye Candy HSB noise was used on the flesh to give it a bit of roughness.