

 How I finish my quilts. How I finish my quilts. I've tried a whole bunch of different methods, and this seems to work the best for me. Give it a shot and see what you think.
The steps below begin after you've finished quilting but before binding. (I apologize for the quality of the pictures - someday I'll grow a third hand so I can do a better job!)
|
|
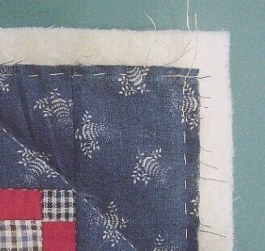 Baste through all layers of the quilt "sandwich" a scant 1/4" from the edge of the quilt top; baste each edge separately, starting at one corner and ending at the other. (I like to use quilting thread.)
Before you tie off the basting thread on each side, lay the quilt out flat. If the edge of your quilt is "wavy" or the corners stick out too far, pull up a bit on the basting stitches to ease in the fullness. Knot firmly.
Trim batting and backing to within 1" of the edge of top. (Leave at least 1/2".)
|
|
 Wash the basted-but-unbound quilt "sandwich" either by hand or machine on delicate cycle, in regular laundry detergent or Synthrapol.
Synthrapol is a commercial detergent available at Dharma Trading Company. It's less expensive than regular laundry detergent (and a LOT cheaper than Orvus!), has no fragrance, bleaches, brighteners or softeners, and since it suspends loose dye molecules in the wash water so they don't stick where you don't want them to go, is essential if you have the slightest doubt about the colorfastness of your fabrics.
Remove excess moisture from the quilt - either roll it in a towel (just like you would a sweater) or use your washer's spin cycle.
|
|
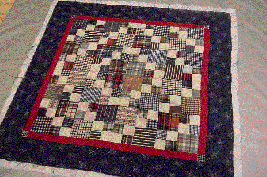 Block the quilt into its finished shape. Lay it flat on an old bedsheet or towel and pat it into shape just like you would a sweater. Pay special attention to the corners - make sure they're square and smooth, and that the width of the ends isn't greater than the middle! This is a great time to fix goofs like wavy edges, blocks that got a bit distorted in quilting.
Let the quilt dry until just barely damp to the touch. Then stick it in the dryer for a few minutes to add loft and remove wrinkles.
|
|
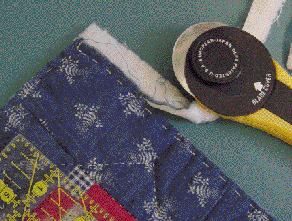 Trim the excess batting and backing with your rotary cutter so that they are flush with the edge of the top.
Check your measurements as you cut. Make sure the width of your border stays consistent, and that your quilt doesn't suddenly curve outward at the corners.
|
|
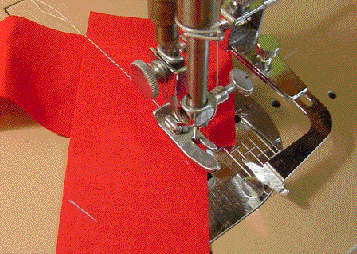 French Binding with Mitered Corners
I use straight-grain, double-thickness "French" binding. Bias binding is a pain to work with and is really only necessary if you've got curves in the edge of your quilt.
For a 1/4" finished width, cut 1.75" wide fabric strips (lengthwise grain is more stable but crosswise is OK). Join them by stitching on the diagonal. Press seams open to eliminate bulk.
|
|
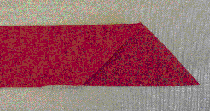 Cut off one end of the strip at a 45 degree angle,
then press the strip in half lengthwise.
This makes binding just about 7/8" wide.
|
|
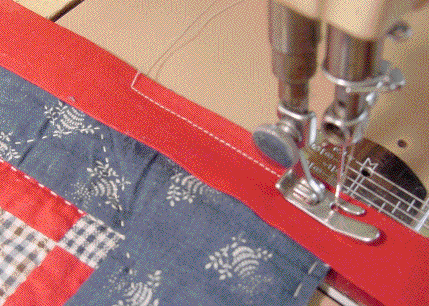 Lay the binding on the quilt so that the binding's raw edges are flush with the quilt's raw edge.
Start at least 5" from the bottom of one of the sides, and leave a "tail" of several inches of binding unattached.
Sew the binding to the quilt using a scant 1/4" seam.
STOP when you get a scant 1/4" from the corner. Stop with the needle UP.
|
|
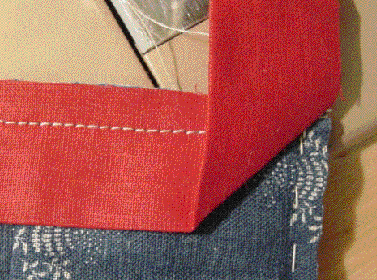 Lift the presser foot. You don't need to cut the thread; just pull it out a bit.
Rotate the quilt one turn to the left. This will put the edge you just stitched toward the top.
Fold the binding UPward, creating a right angle in the binding's folded edges and aligning the raw edge of the binding with the raw edge of the quilt.
|
|
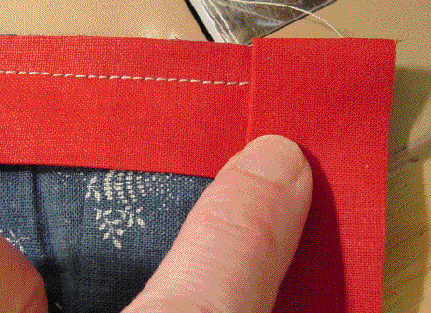 Now, keeping that first fold in place, fold the binding DOWN so that there's a fold that's flush with the raw edge of the quilt (at the top).
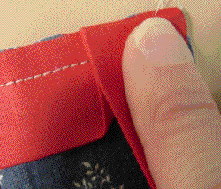 |
|
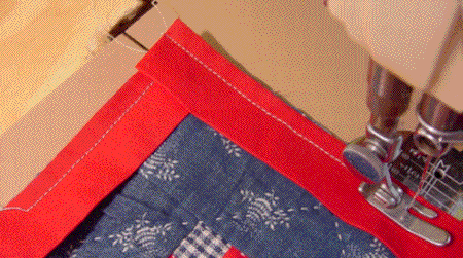 Starting with 5 or 6 tiny stitches (20/inch) and beginning right at the raw edge of the quilt (at the top), stitch the binding onto the next side of the quilt.
Continue around the quilt, stitching the remaining 3 corners in the same way, until you are 6-8" from your starting point.
|
|
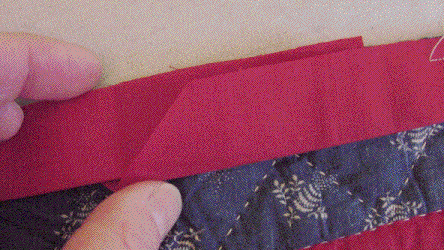 Slide the "ending" end of the binding inside the "beginning" end of the binding. Trim off just enough of the "ending" end to make this possible.
|
|
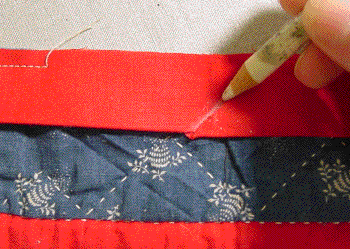 Using a pencil or chalk marker, trace onto the "ending" end the angled line formed by the "beginning" end of the binding.
|
|
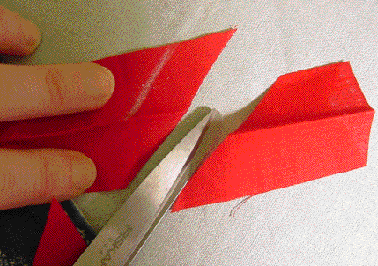 Separate the 2 binding ends and open up the "ending" end.
Eyeball or mark a line 1/2" to the RIGHT of the line you marked.
Cut off the excess binding at that point. (I know - scary!)
|
|
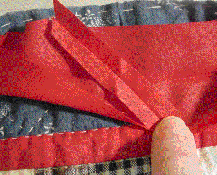
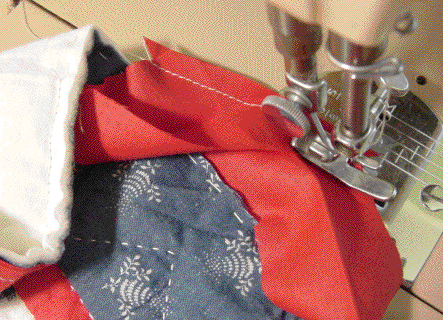 Open up both ends of the binding, and laying the pieces right sides together, sew the 2 ends of the binding together with a 1/4" seam. Press the seam open.
 |
|
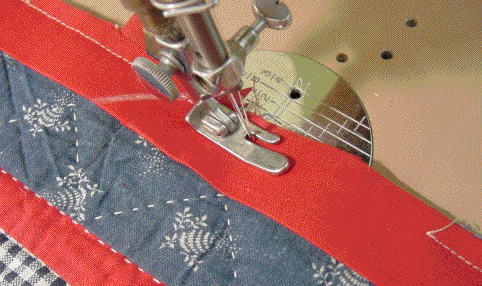 Re-press the lengthwise fold in this part of the binding, and then stitch the binding to the quilt.
|
|
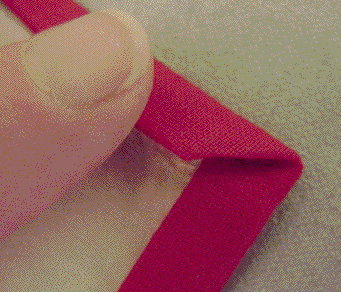 Clip off the excess fabric at the corners to reduce bulk.
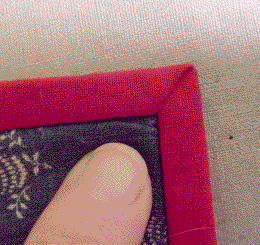
Fold over the binding to the back and blind-stitch into place by hand. The corners of the binding will automatically fold into miters.
 |
|