[ Main Page ] [
Links ] [ Newsgroup
Questions ] [ Tutorials ] [ Submit
Info. ] [ Downloads ]

Using & Editing with EM Editor
|
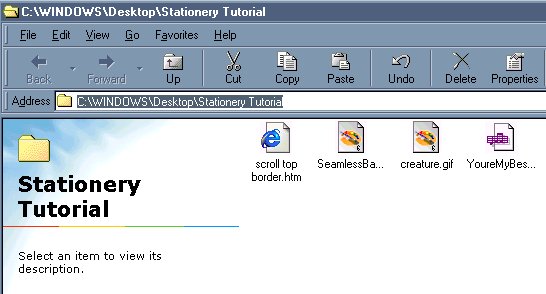
Let's start modifying our stationery script! It is time to start creating our own stationery from the stationery script. This is a top border scroll. Open up the script that you downloaded to follow along. If you have to go back and look at page 1 of this tutorial to remember how to do that, then do it and come back here. *All of your files should be in the same folder. I am keeping all of mine on my desktop, so when I put in my path that is what you will see me reference in the script. Just remember where you put yours and modify your script to point to that folder. A really easy way of putting in the path is to open the folder with your images and script in it and then copy the line in the explorer window. It looks like this -
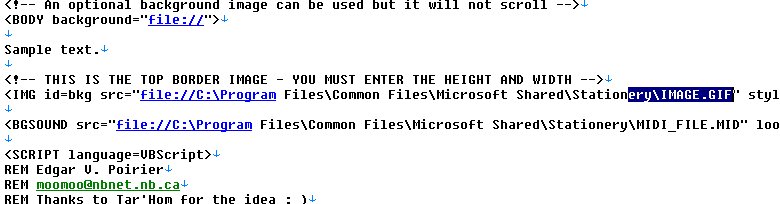
I just highlight that and then right click on it and chose COPY, then I open up the script (see it right there?) and highlight the temporary path the creator put in there for me and right click on that and chose PASTE. You can paste multiple times, so you only need to copy it once. You can go from one temporary path to the next and never need to re-highlight the folder path again. Here is a picture of me doing that -
I start at the right side as sometime copying from the left can be tricky, you will see what I mean if you try it. - your cursor turns into a hand and it wants to click on the link to follow it. So, just start from the right. I want to stop highlighting before I get to the end of it.
I want to leave part of it.
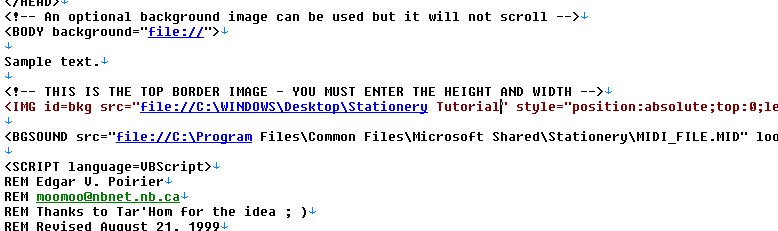
Now that I have that copied, I just right click on it and chose PASTE (remember I copied the path out of the folder above. If you haven't done that, then this won't work and you will just have to type in the path yourself. Here is what it look like after I finish -
Now that I have my path in there, I need to add the name of my image. Looking at the line above the highlighted one, I can see that I am adding the scrolling image. See where it says <!--This is the top border image - you must enter the height and width--> Whenever you see a tag that starts with <!-- that is a comment tag. The Well, it says that we must enter the height and width of the image. I guess it is time for another side lesson of how to find that out. Click Here for that lesson. Alright, now that you have figured out how to get the dimensions of your image, let's stick them in. The first thing I am going to do is to add the name of my image (the one I want to scroll - which is "creature.gif") This is what it looks like -
Can you see what I added? All I had to add was
- Now, to add the dimensions. *My page is too wide so the next image is still in the code it just moves off to the right a bit past the path we just entered.
So, just move to the right a bit. You can see
that I am still on the line where we entered the "creature.gif".
At the very end of the line is the spot we are looking for. The
height:131 and the width:90. I need to change those to match my
images. We learned from Paint Shop Pro that my dimensions were
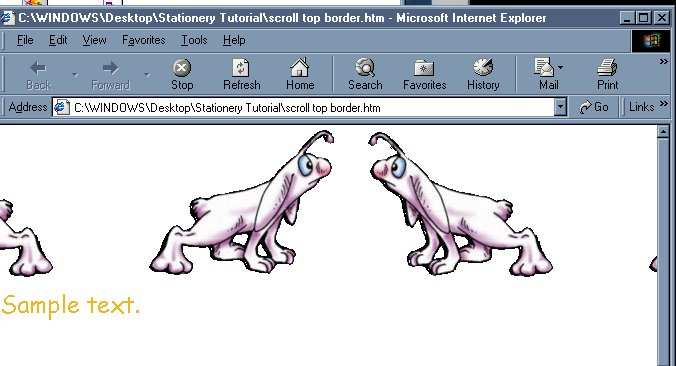
- Going back to the code I change those two things and then go to FILE/SAVE. This is what it looks like now -
Make sure you don't delete out any of the puncuation around it. The code needs that to run correctly. Once you have saved it, then go back to the folder and double click on the Script and it will open in Internet Explorer. See the creature scrolling along the top? This is what it should look like -
We are getting closer to being done. If you have made it this
far, then congratulate yourself and then
|