On This Site:


My Sites:


Contact Me:

Lesson #3
Help from Lenny
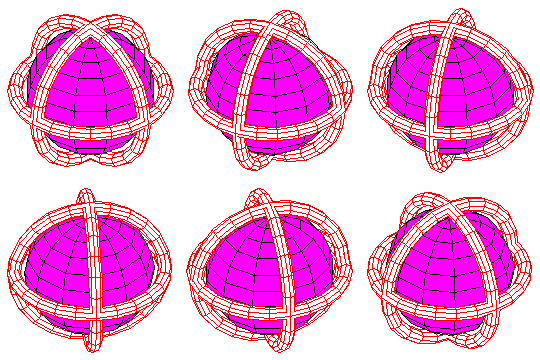
 "REVOLVING TORUS"
The frames for the animation on the left was initially created in AutoCAD (R11 DOS) using the 3D entities SPHERE and TORUS. (Any reputable 3D CAD program that operates in Windows should work fine.)
The big problem I had in creating this animation was how to get each frame from a DOS version of AutoCAD into a usable image in Windows. One way is to use DXFOUT from AutoCAD which can be imported into Paint Shop Pro. This gives black lines on white.
But I wanted colored lines. The key was plotting. By reconfiguring AutoCAD to plot to a HP ColorPro plotter, and saving to a file, I was able to create each image as a HPGL file suitable for importing into Paint Shop Pro. The only thing necessary was to rename the file extension from PLT to HGL.
Once in Paint Shop Pro, I could color each area of the image and save it as a GIF file. Keep in mind, you want a unique color for the transparent background. In this case, I used green.
Now to bring all the images into MS GIF Animator. Set the proper sequence, time delays, and transparency.
Another animation completed.
Online since May 23, 1998.
Images on this site are Copyright ©1998 by Leonard Kikstra
You may use the graphics for your own private use. If you use these images on your own web site, you must download the graphic and save it on your site. DO NOT link directly to the graphics on this site. You must also indicate on your site where you got the graphic from, and I would appreciate you providing a link back to my site.