
| HOME | MY LIFE | MY SAY | MY PASSION | MY WORK | CONTACT ME | LINKS AND CREDITS |
|
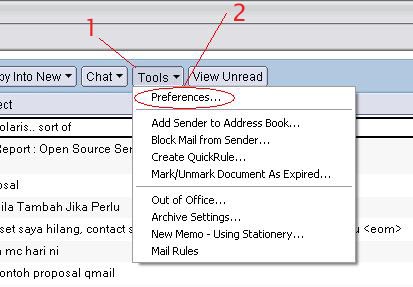
LOTUS NOTES / DOMINO - Delegation Key Concepts Delegations are 'tools' for a user to allow others to read, edit or delete their mail or calendar. This feature comes in handy for people who has secretary/assistant who needs his/her secretary/assistant to schedule meetings, etc. or mail their e-mails on their behalf. How to delegate? One can access their delegation tools by :-
1) Open Mail Database
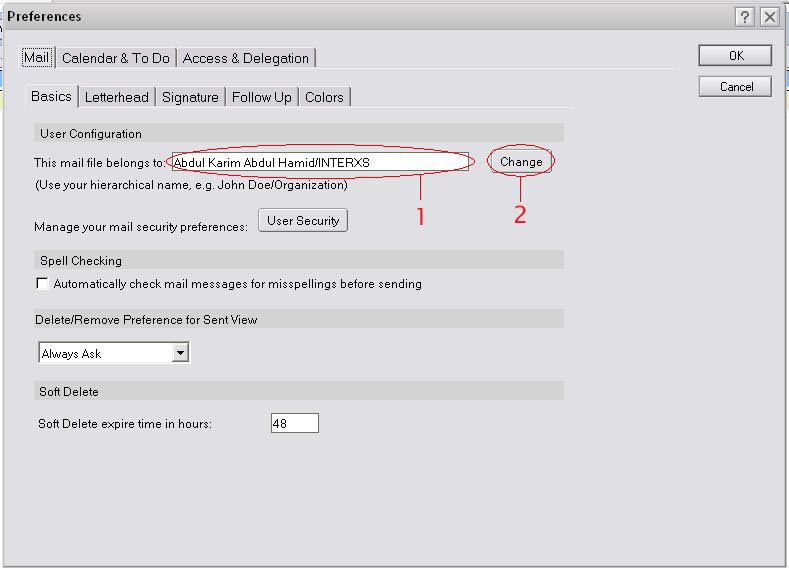
4) A pop-up window will appear as shown in Diagram 2. By default, it will bring you to
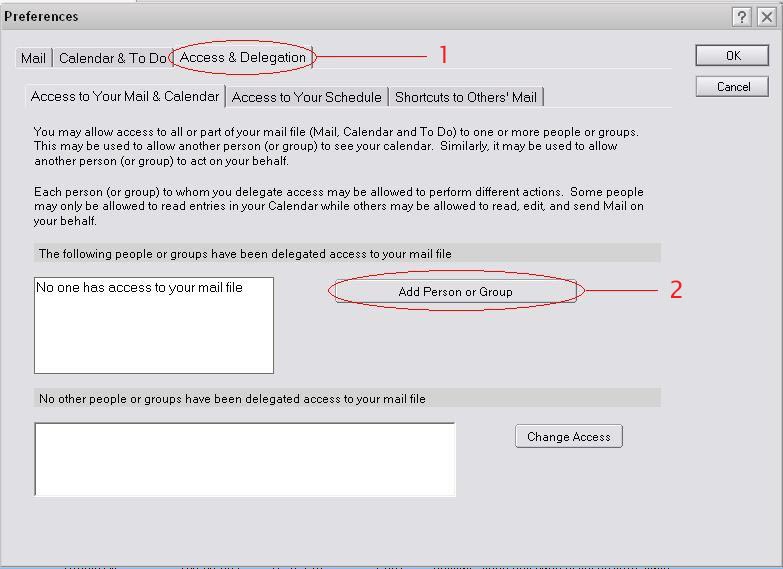
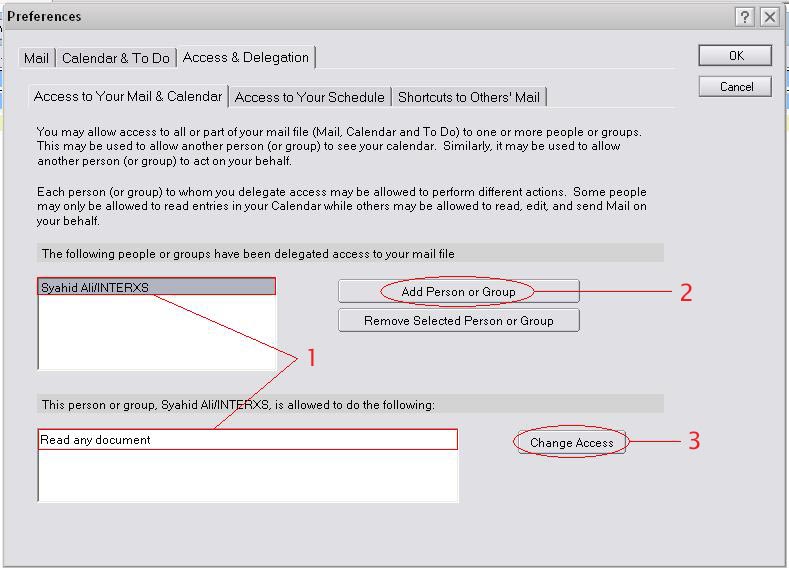
7) Then, go to the Access & Delegation Tab. By default, this will bring you to the
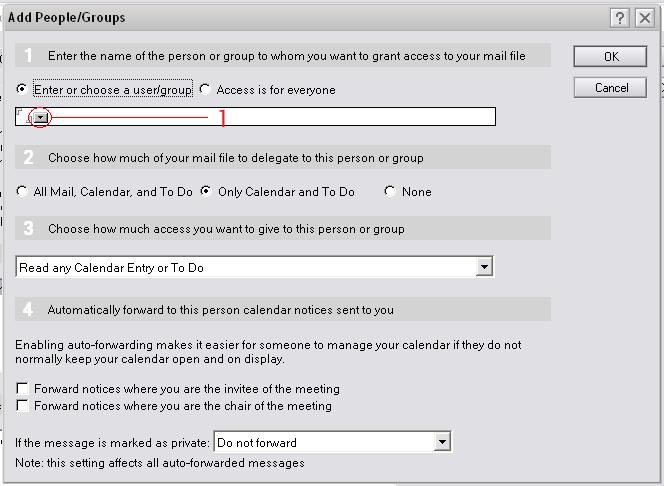
9) A pop-up window will appear as shown in Diagram 4. You can either choose Enter
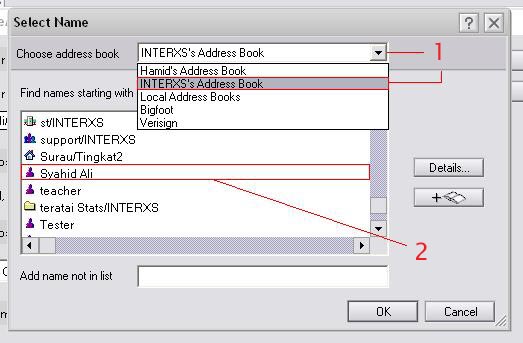
11) Make sure you've chosen the correct Address Book ( More Details on The
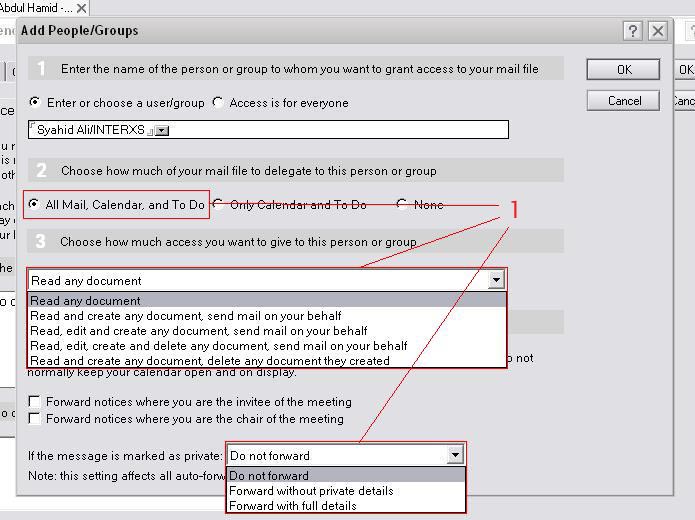
13) Choices available if you allow them access your All Mail, Calendar, and To Do
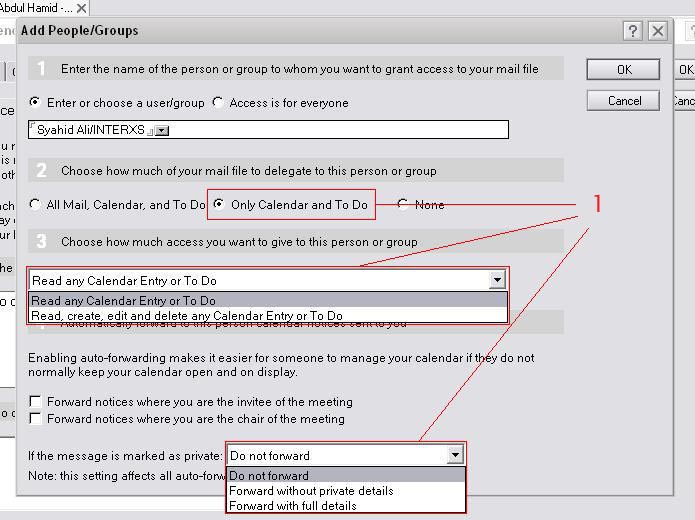
15) Choices available if you allow them access your Only Calendar and To Do are
17) Make sure that the delegate's name and the allowance are correct ( Diagram 8, Checking your steps You can make sure that the delegation process went smoothly by :-
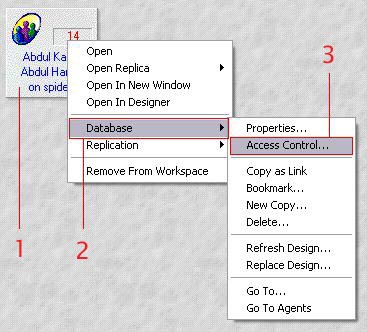
1) Right clicking on your Mail Database ( Diagram 9, Step 1 )
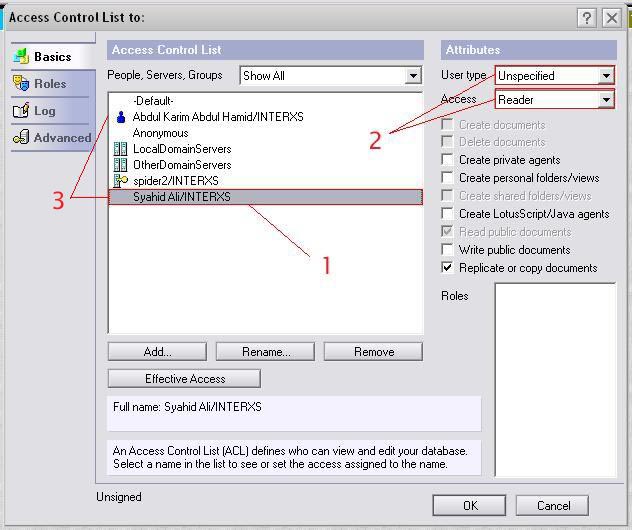
4) The Delegations Name will appear in the Access Control List ( Diagram 10,
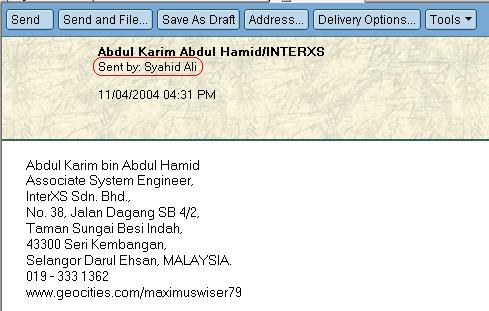
How to tell who sent the e-mail? As a reciepient, it is sometimes confusing to know who was the sender of our mail. However, Lotus Notes provides suffiecient information even to the reciepient so that the recipient call tell the owner apart from his delegation. One significant indication is :-
If the sender is NOT the owner himself/herself, a sent by field, including a name will appear. Otherwise NO sent by field will appear nor will the name. Known Issues |
||||||||||||||||||||||||
 | ||
|
Address Book Archive Delegation Replication Templates Renaming Issue |
||
ELATED PageKits © 2002 ELATED.com/PageKits.com